Showing posts with label 10mm Ancients Hail Caesar. Show all posts

Saturday, 11 July 2015

Dark Ages Hail Caesar game.

Normans v Vikings.

We welcomed a new member to the club the week before last and he opted to watch from the sidelines as the rest of us fought out a straight forward encounter between these two old foes. This is mainly a picture heavy post but i will add more notes when i get the time. 

Tony, our new member, brought some of his toys to the club for us to look at and pretty impressive they were too. He is an Ancients specialist and showed off some of his Biblical collection. As soon as we get to game with some of these i'll make sure to post a report. It will be well worth seeing.

Anyway back to the pictures.

Me and Tom took the Normans


Dave and Carl took the Vikings


Viking archers move into the woods on the flanks


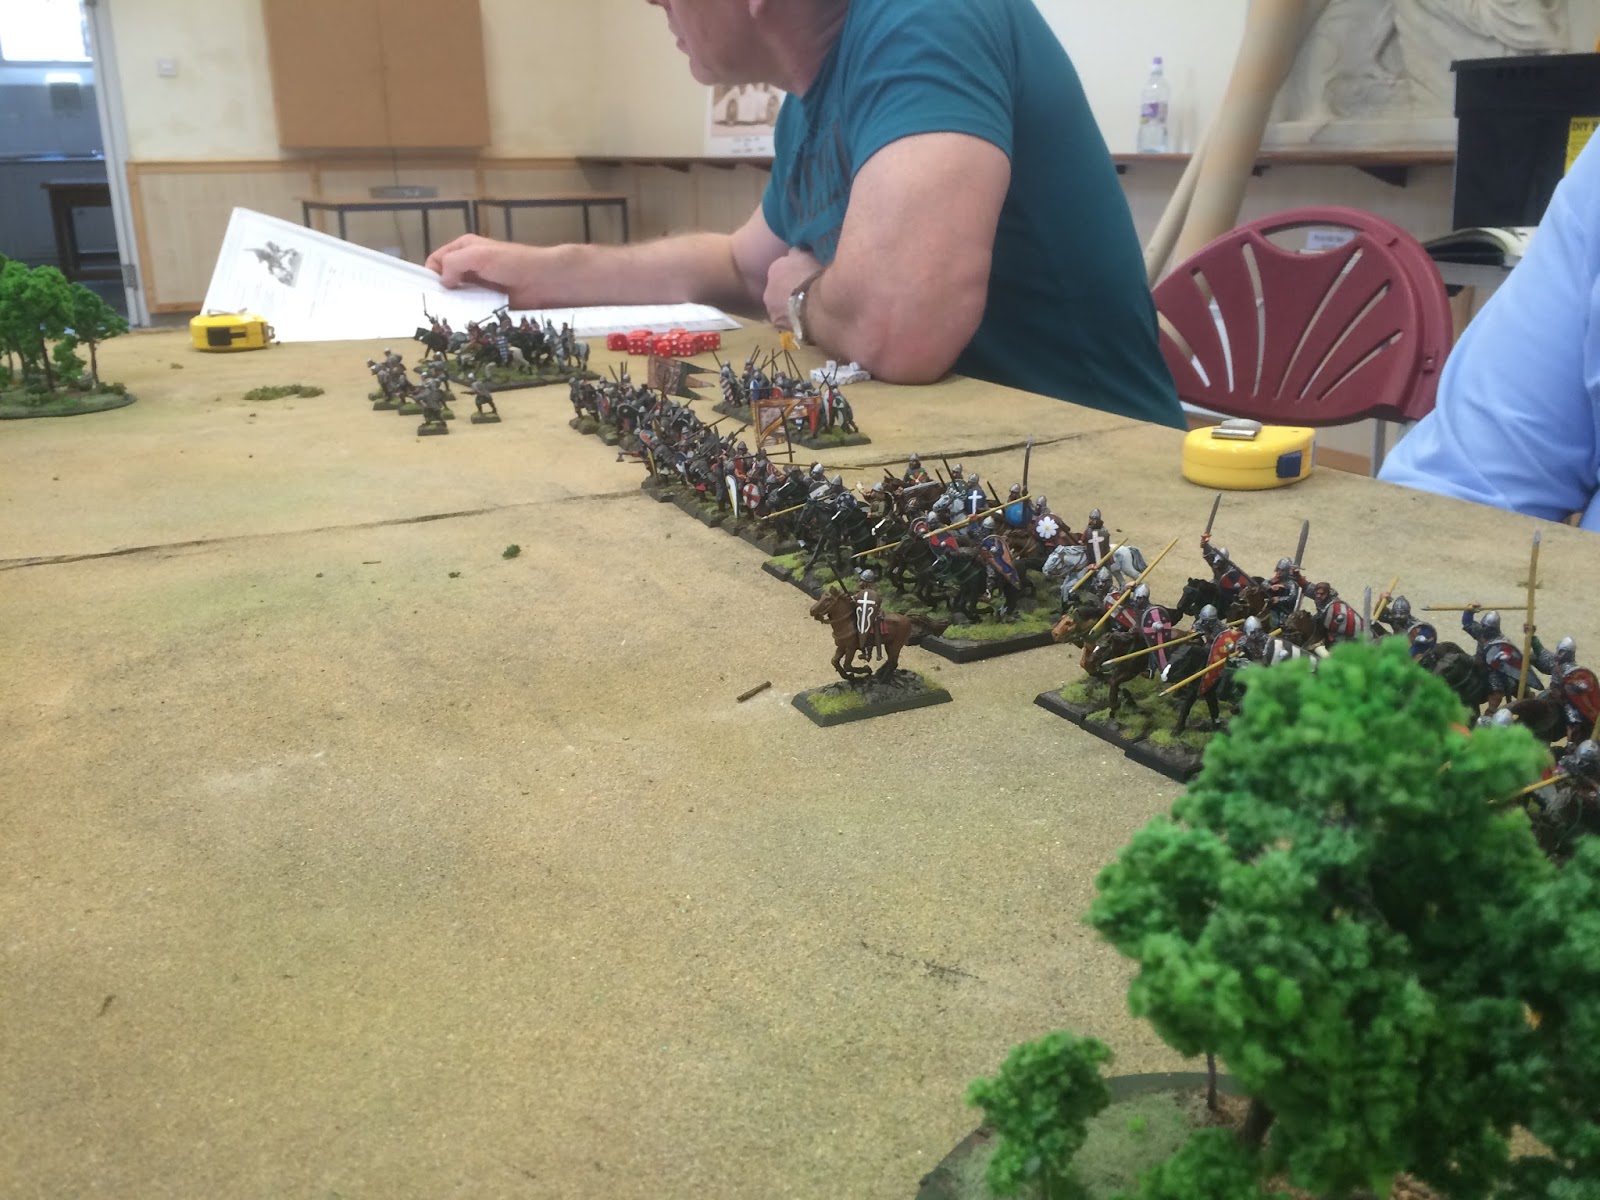
Normans advance.
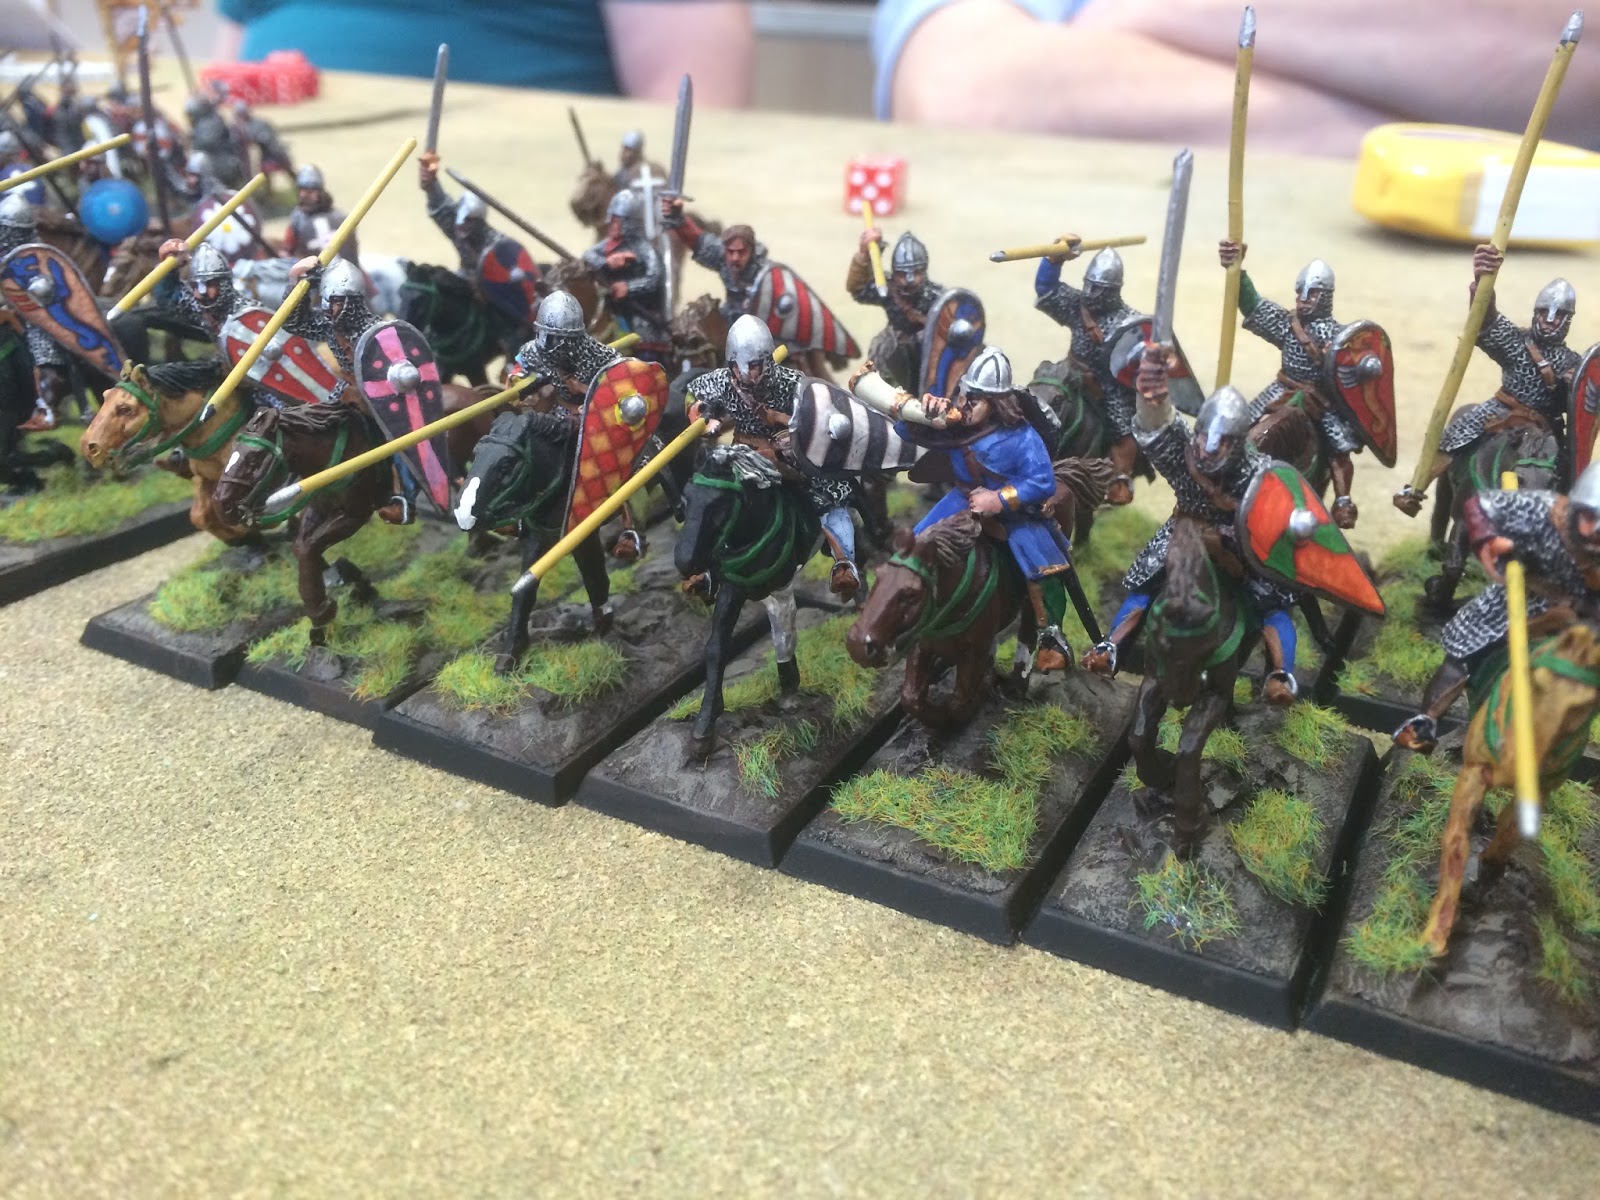


Norman archers having advanced into range of their Viking counterparts take a casualty.


Protecting the flanks of their advancing cavalry


The rest of the Normans begin to advance.


Viking left wing closes the gap to the woods


Archers face off on the Norman left


Norman archers fail their test and are destroyed.


Viking shield wall receives the Norman cavalry.


The Norman right advances, well some of them do anyway!


The shieldwall holds firm.


and the Norman cavalry fall back disordered


The fight to their flank is indecisive,


On the Norman right their cavalry and infantry attack the shieldwall while their archers are preoccupied with dealing withe their Viking counterparts in the woods to the rear.


The Normans fall back disordered.


The infantry fight will continue into the next turn.


Back on the other flank the melee continues


The Viking shieldwall has done its job well and they begin to get the upper hand


The Norman line is being pushed back in several places and on closer inspection it became clear that most Norman units were close to reaching the stamina values which would mean broken divisions and a Viking victory. The Vikings were relatively unscathed, their shieldwall having proved extremely effective. A win for the Vikings then.


Thanks for looking.

Mick

Saturday, 14 September 2013

Third Servile War

We had a game on Monday using my Spartacus rebellion figures.
We just did a straight battle with two roman legions facing a large force of slaves.
Myself,Pete and Dave took the slaves while Tom and John took the Romans.
The battlefield with the slaves towards the bottom of the picture and the Romans toward the top.
The slave infantry.


Tom's Romans.


Spartacus(Grey horse) with his bodyguard.


Castus's slaves(far left) start to move forward while Gannicus's slave cavalry move forward as well.


The slave cavalry commanded by Gannicus.


Toms Romans advance while Johns hold their ground.


The slave infantry continue their advance toward the Romans.


Castus infantry(closest) and Crixus infantry(top).


Johns Romans continue to hold position in face of the oncoming horde of slaves.


 Johns Romans.


Castus's slaves.


Johns Romans finally move toward the enemy.


Castus's archers open fire on the Romans causing one casualty.


The Romans retreat out of range of the archers.


The slave cavalry move up to support the slave flank.


The slave skirmishers fire on johns Romans but cause no casualties.


A unit of slave cavalry move to outflank the roman left while the slave centre holds position.


Castus's slave skirmishers move out of the way as the Romans prepare to charge.


The Romans charge but fall short and a unit takes a casualty from slinger fire.


The roman move toward the slave archers and take another two casualties.


Castus's slaves and Johns Romans face off.


Two slave war bands brutally clash with a unit of Romans.


The trained slaves under Castus's command also clash with a unit of Romans.


The war bands lose their combat against the Romans with one war band fleeing the field and the other is pushed back.


The slaves have no time to rest however as the Romans pursue them.


The remaining two war bands charge two units of Romans.


The Romans fighting the trained slaves are reinforced.


The slaves and Romans slug it out.


Toms Romans charge the slave archers while a unit of Romans move to secure the left flank.


The slave cavalry open fire on a unit of Romans but cause no casualties.


The battle in full flow.


Both sides take casualties.


Castus joins in the fighting as does Johns commander.


During the melee John's commander is killed and the roman casualties start to build up.


The slave cavalry form up on the roman flank.


Another war band routs after taking too many casualties from combat.


The trained slaves are overwhelmed and are routed.


Castus and his remaining slaves manage to beat two units of Romans who proceed to leave the field in fear.Castus and his remaining men then decide to retreat from the field.


Crixus's slaves in the centre finally move into combat.


Two units of slave cavalry open fire on the Romans but only cause one casualty.


A unit of light slave infantry open fire on a unit of Romans and inflict one casualty and force the Romans to retreat out of range.


Crixus's trained slaves lose their combat and are pushed back.


But they charge straight back in again this time accompanied by a war band.


An order towards one of the roman units is misheard and they instead charge toward a unit of slave cavalry who evade the Romans.


The battlefield at 10 o clock.


At this point we finished we gave the victory to the Romans because the ones who had defeated Castus's slaves were about to flank Crixus's forces and we surmised the slaves would have been overwhelmed.


A very enjoyable game but i need more slaves so as it can be a evenly matched fight.


Next up on Monday Wings Of War


Thanks For Reading


Carl