Showing posts with label 20mm WW2. Show all posts

Saturday, 25 June 2016

WW2 Iron Cross game


20mm Germans v British.

We have really been getting into this set of rules as its quite quick to learn and play. A word of caution though. This has to be the most irritating set of rules ever if you're throwing crap dice and your opponent is throwing great dice! How it remains enjoyable when this happens i haven't quite been able to fathom out. Perhaps i need professional help! Anyway, on to the game.

As with the WW1 air combat game these were taken awhile ago so will also be picture heavy comment light. Apologies for that.

A Stug with supporting troops. 


A blown up Stug, i'm guessing i was the Germans! The blue discs show a unit has been activated. Each tank/squad has 1 activation plus the commander gets extras, all of which are placed in a pool and can be used to activate any unit, more than once if required. Initiative can be passed over to the opponent by the active player, Its often a good idea to save tokens in order to intervene when your opponent moves or fires.


As can be seen here some units have been activated more than once. The coloured tokens have since been replaced by small tufts of dirtied cotton wool to maintain the look of the table.


Second game using the same rules.

Again Germans v British with the Germans advancing down the table towards the British.
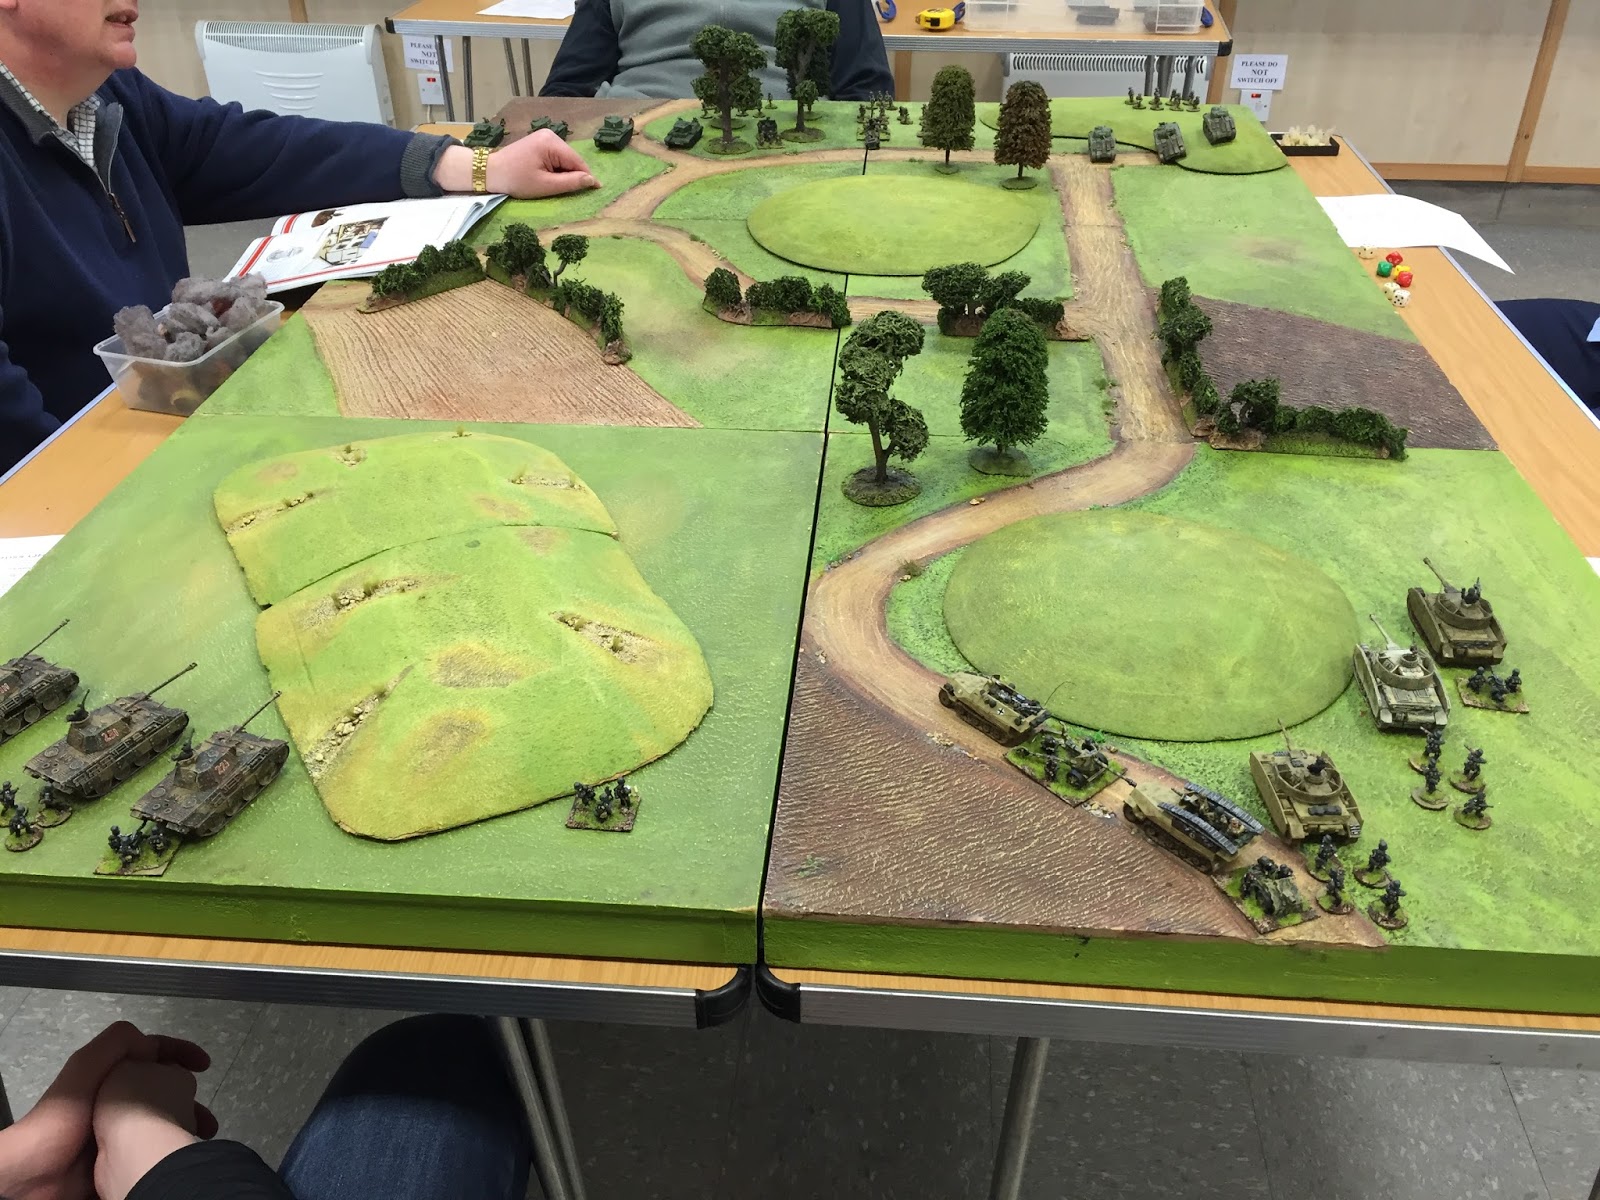


A tank commanders view of the battlefield.


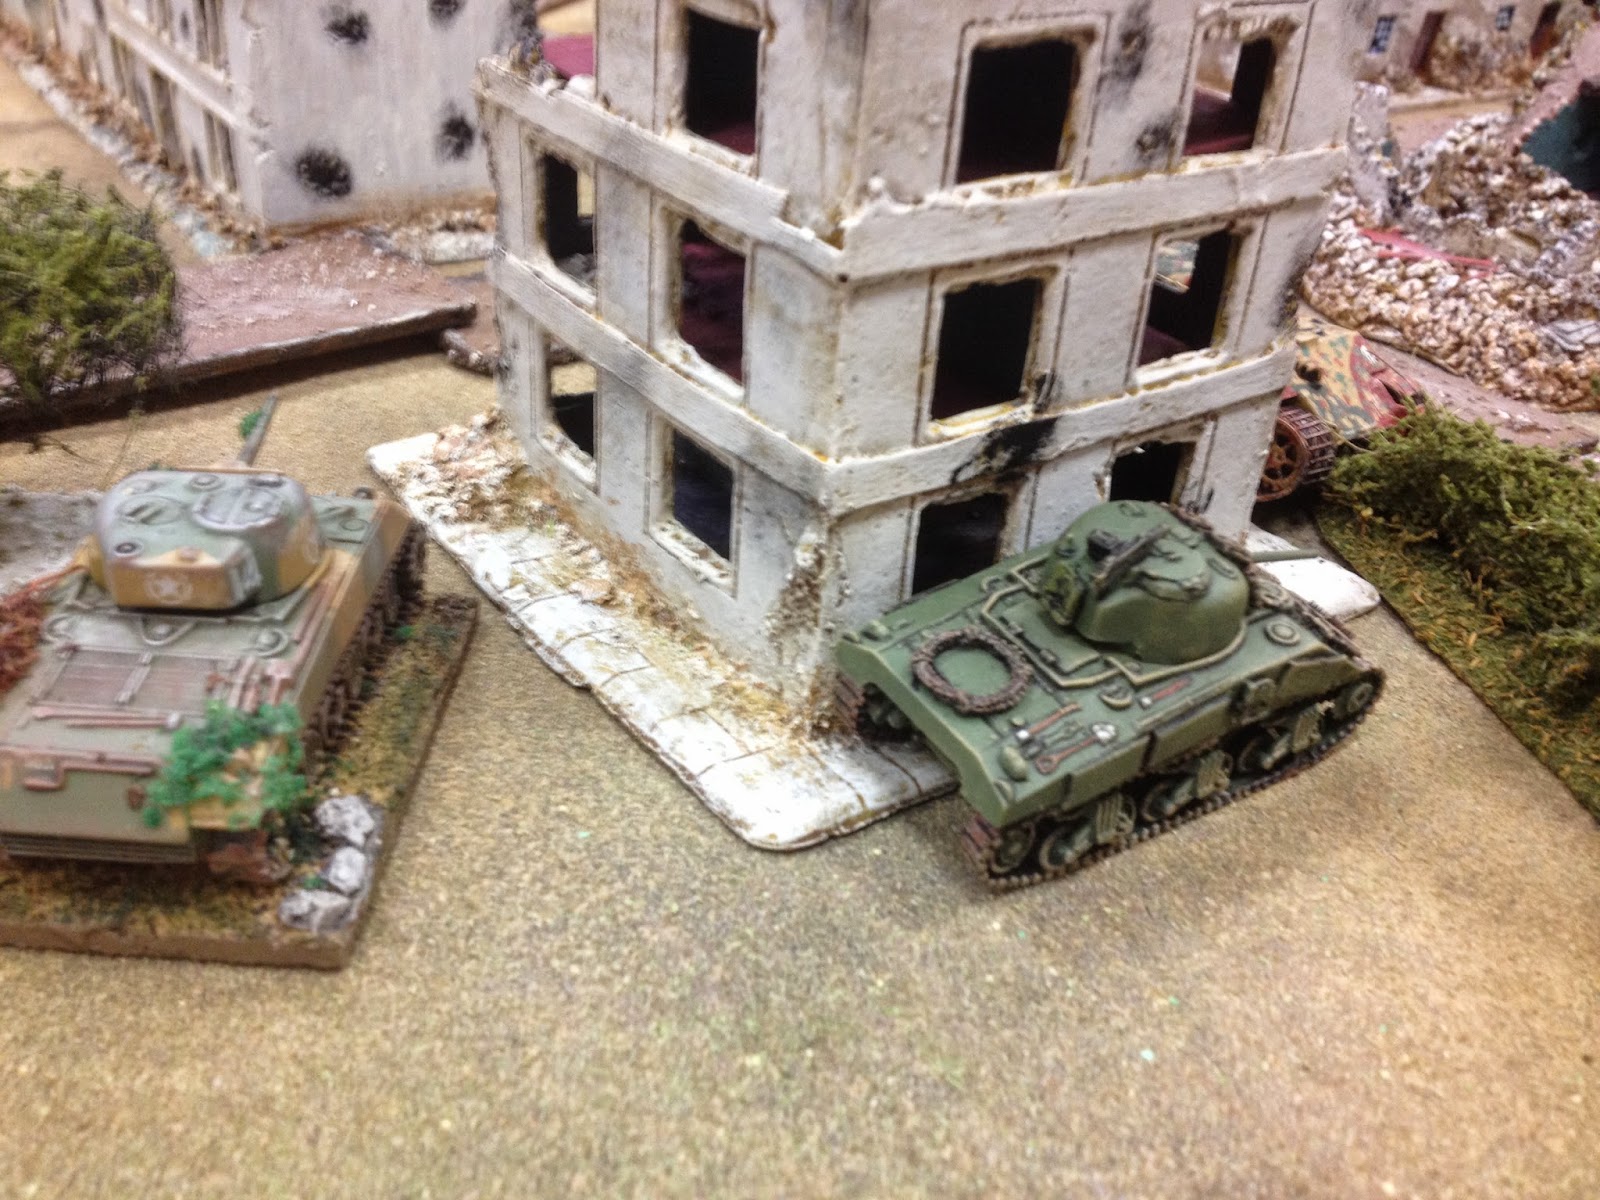
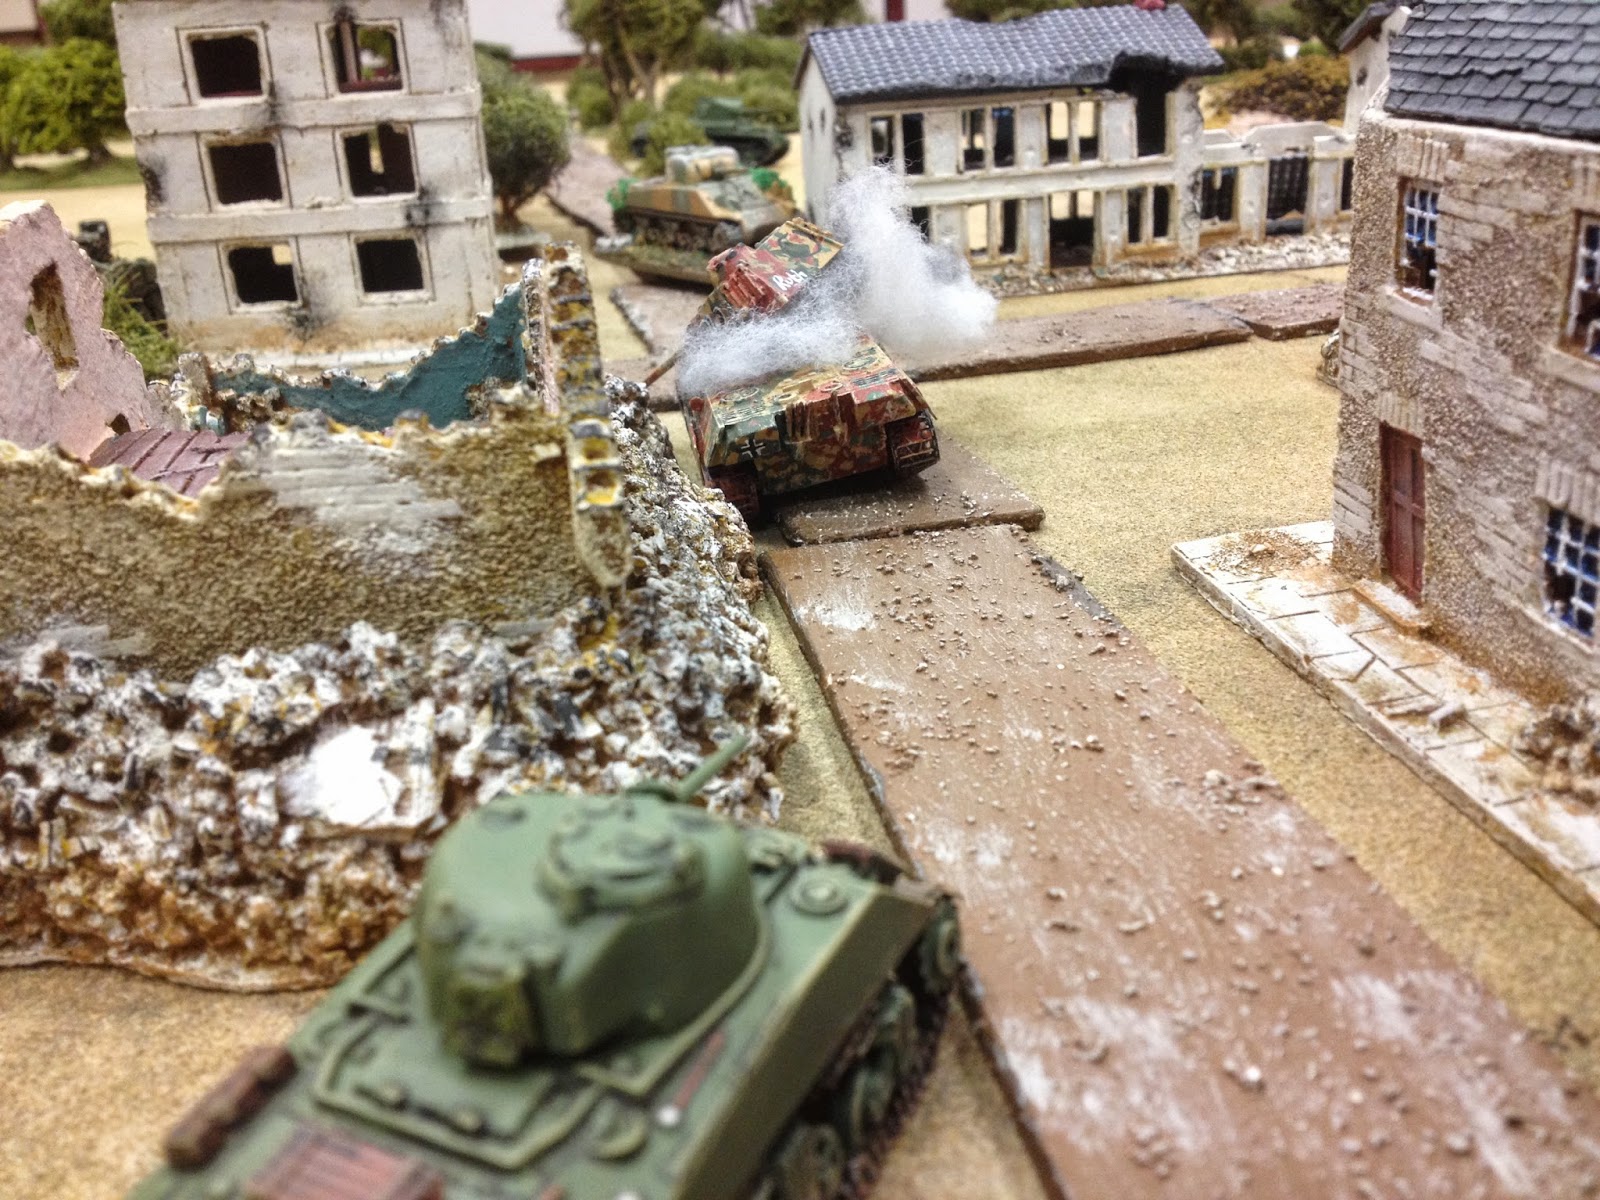
A Sherman brews up. Note the tufts which have replaced the coloured discs.


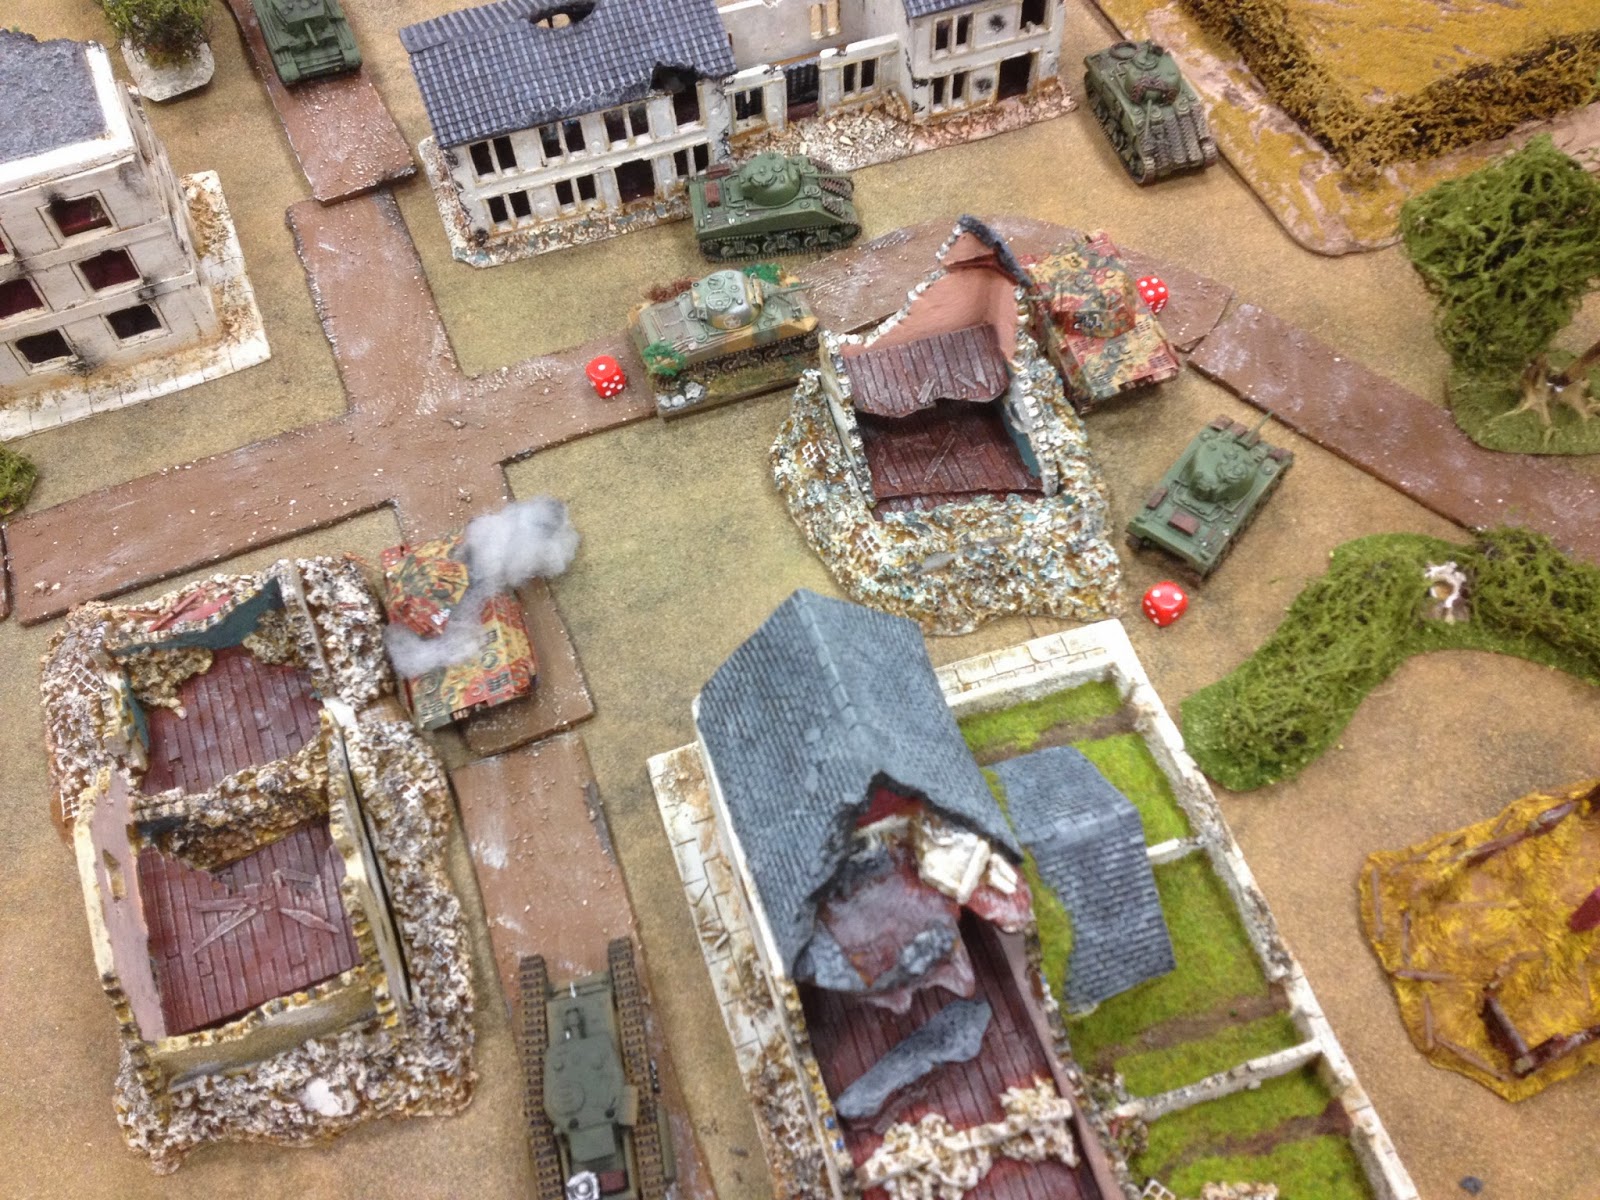
Casualty discs record hits. Note from the tufts that one tank has been activated 4 times this turn,


A couple of Panzers are taken out. Note when a unit is destroyed its activation token is removed for the next turn.
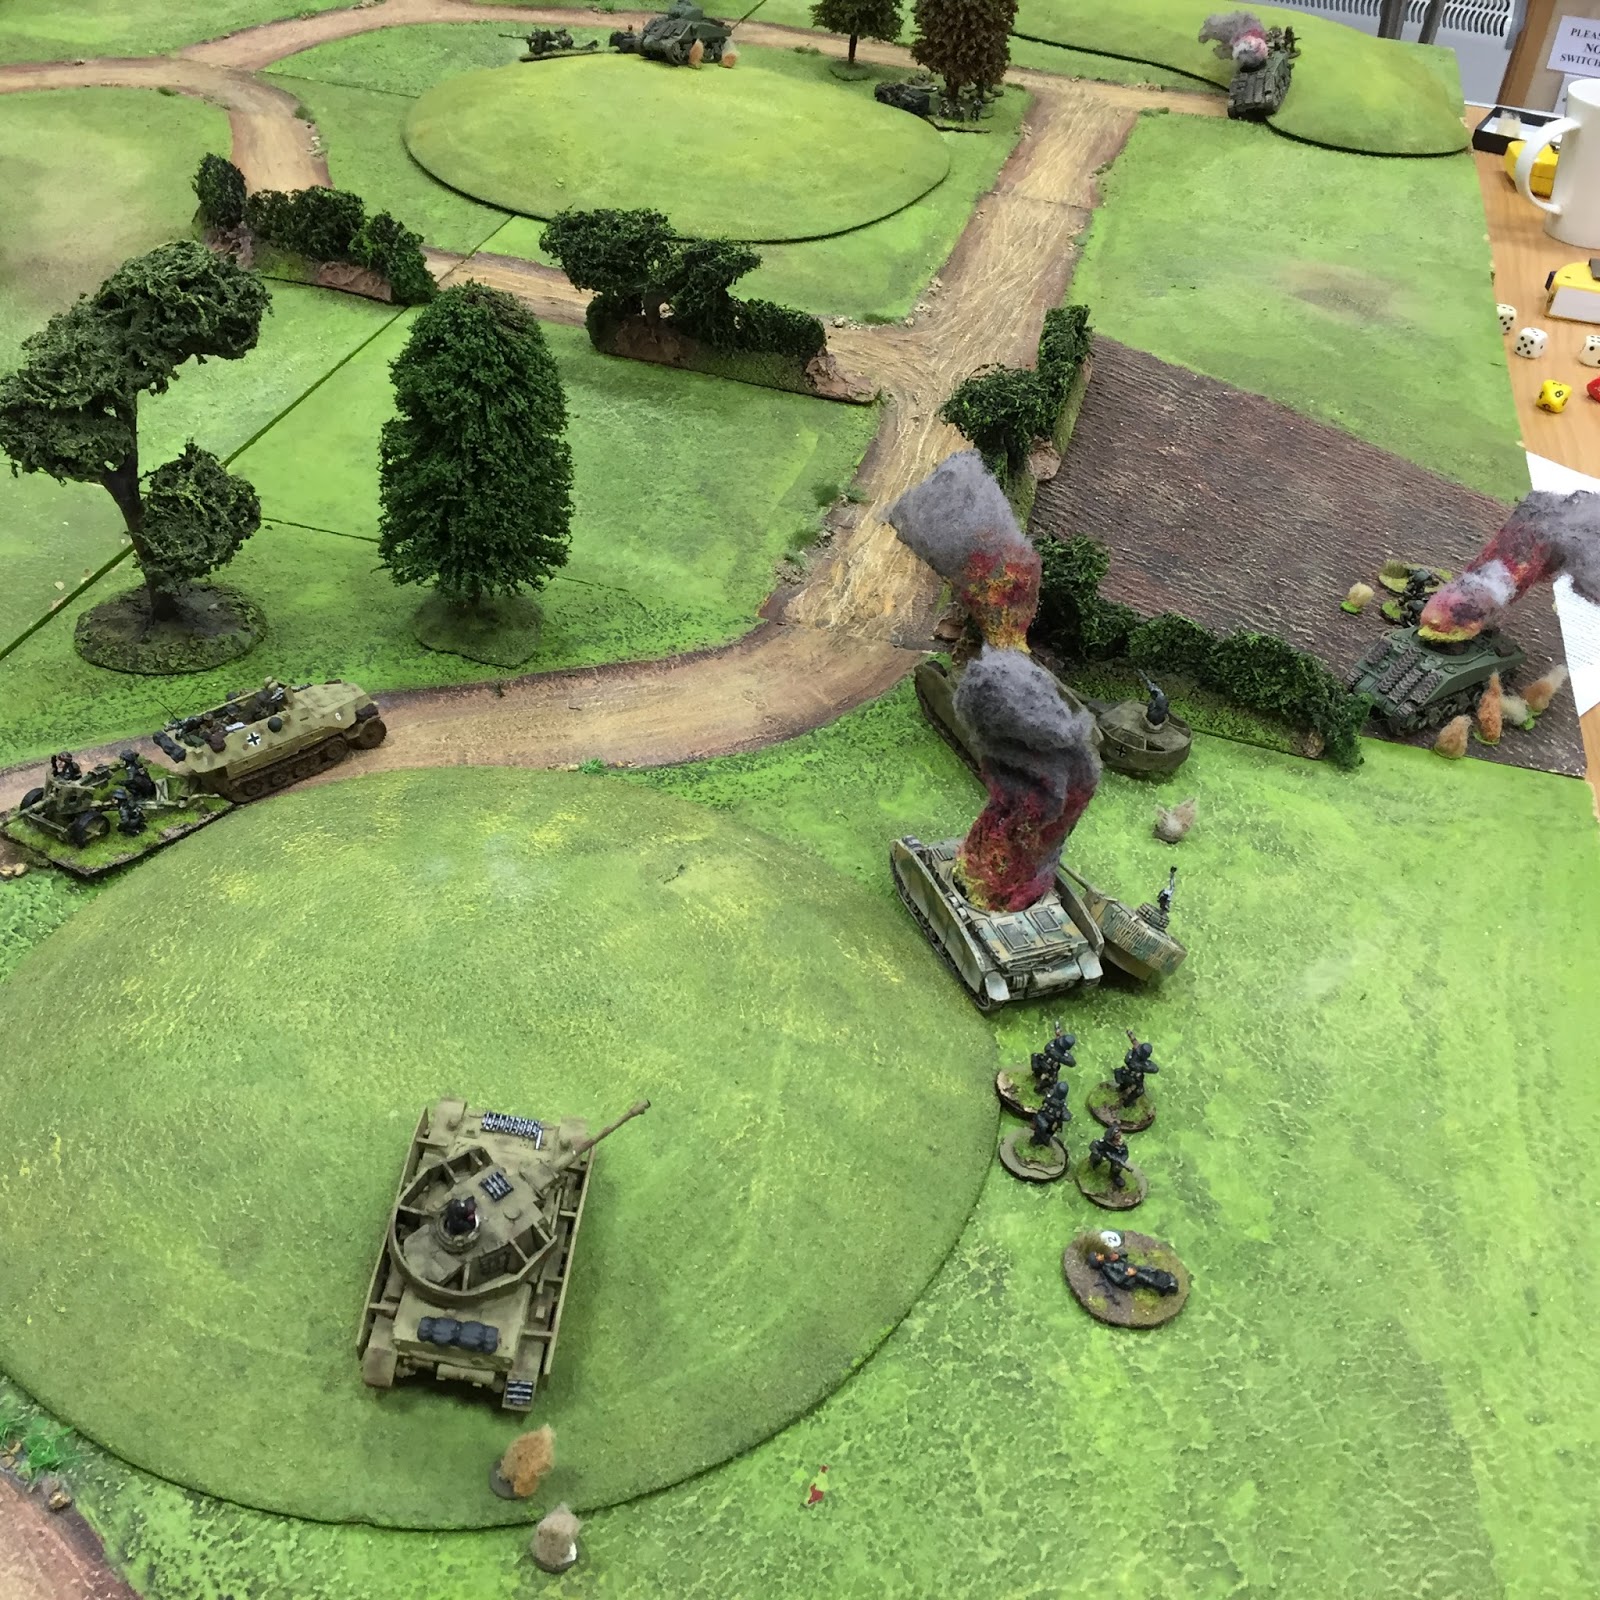


 A troop of Panthers await suitable targets.


More German tanks are taken out.


Unfortunately this game can become quite engrossing and i forgot to take any more photos!

You can, however, find plenty of pictures of Iron Cross games and many others in fact, on our club website gallery here-


Saturday, 10 May 2014

PANTHER HUNT

We had a tank battle on Wednesday using Micks 20mm WW2 stuff.

Myself and Tom took the allies and Mick took the Germans.
We used the rules Blitzkrieg Commander.
The Scenario
Normandy 1944 allied air support reported seeing German troops and armour in a nearby village.Allied artillery fired on the village and caused significant damage. After another pass the air support could not ascertain whether all enemies had been neutralised so a platoon of Sherman's and Cromwell's were ordered to move in and destroy any remaining enemies.
The Battlefield. 


 The Cromwell's move down the road led by a Petard.


 The Sherman's move down the right.


 The Cromwell's continue down the road.


 The Sherman's charge across the field toward the village.


 A Sherman sneaks along the road.


One of the Sherman's spots a Panther tank hiding behind a building. 


The Panther fires at the Sherman.


 It hits but does not destroy it although it is suppressed.


 The Cromwell's respond to the gunfire by moving into the field on the left.


 The Sherman's close in on the Panther.


 One of the Cromwell's moves across the field when.


 Another Panther reveals itself and opens fire.


 It damages and suppresses the Cromwell.


 A second Cromwell fires on the Panther.


 It is also damaged and suppressed.


 A third Panther reveals itself and prepares to fire at one of the Sherman's.


 But before it can the Sherman takes cover behind a building.


Another Sherman fires at one of the Panthers. 


 But can only suppress it.


 The Sherman's close in.


 Command Blunder: One of the Cromwell's is destroyed by enemy fire.


The Panther fires on the Petard. 


And Partially damages it.


 But the Panther does not notice the Sherman moving behind it.


 The Sherman opens fire and destroys the Panther.


The Panther behind the hedge manages to suppress a Cromwell.


 The Sherman's move in on the second Panther.


 The remaining three Cromwell's fire on the Panther behind the hedge.


 They only manage to suppress it though.


 The other Panther desperately tries to fend off the attacking Sherman's and manages to suppress one.


 The other Panther attempts to aid its comrade and suppresses another Sherman.


One of the Cromwell's moves into the village and suppresses the Panther. 


 Two Cromwell's fire on the Panther behind the hedge.


 And partially damages it.


 The remaining Cromwell also fires on the same Panther.


 This time the Panthers armour is penetrated and it is destroyed. 


 "WE SURRENDER YA"


 At this point the remaining Panther surrendered.It was a surprising result as we expected the Panthers to be more lethal than they were.


Thanks For Reading 


Carl