Vimiero hill.
Having completed several test games of Napoleonic Command we thought it was time to try a historical scenario. This was lifted straight from the Genera de Brigade Peninsular war scenario book. Once again we used Neal's superb 15mm collection of Dwarves to game this one.
I took the British and Tom took the French.
Neal was his usual impartial self as umpire
Th British starting positions with the Light Division on the left.

The French ready to advance,

The French, having won the dice off went first and advanced along their entire front.

No redeployment for the British as they waited patiently for the approaching French columns.

Disorder points accumulated by both sides at this point following threat assessments by both sides before the end of turn 1.

In turn 2 the French continue to advance.

French guns deploy.

The 95th redeploy into skirmish order.

French redeployment with guns unlimbered and columns into line.

Ffrench prepare to assault the British positions east of Vimiero.

I could have done without a double 4 here!

The 95th are pushed back.

In a revolutionary new tactic the British right sinks into Vimiero hill.

French infantry deploy into columns to prepare for the assault on the ridge.


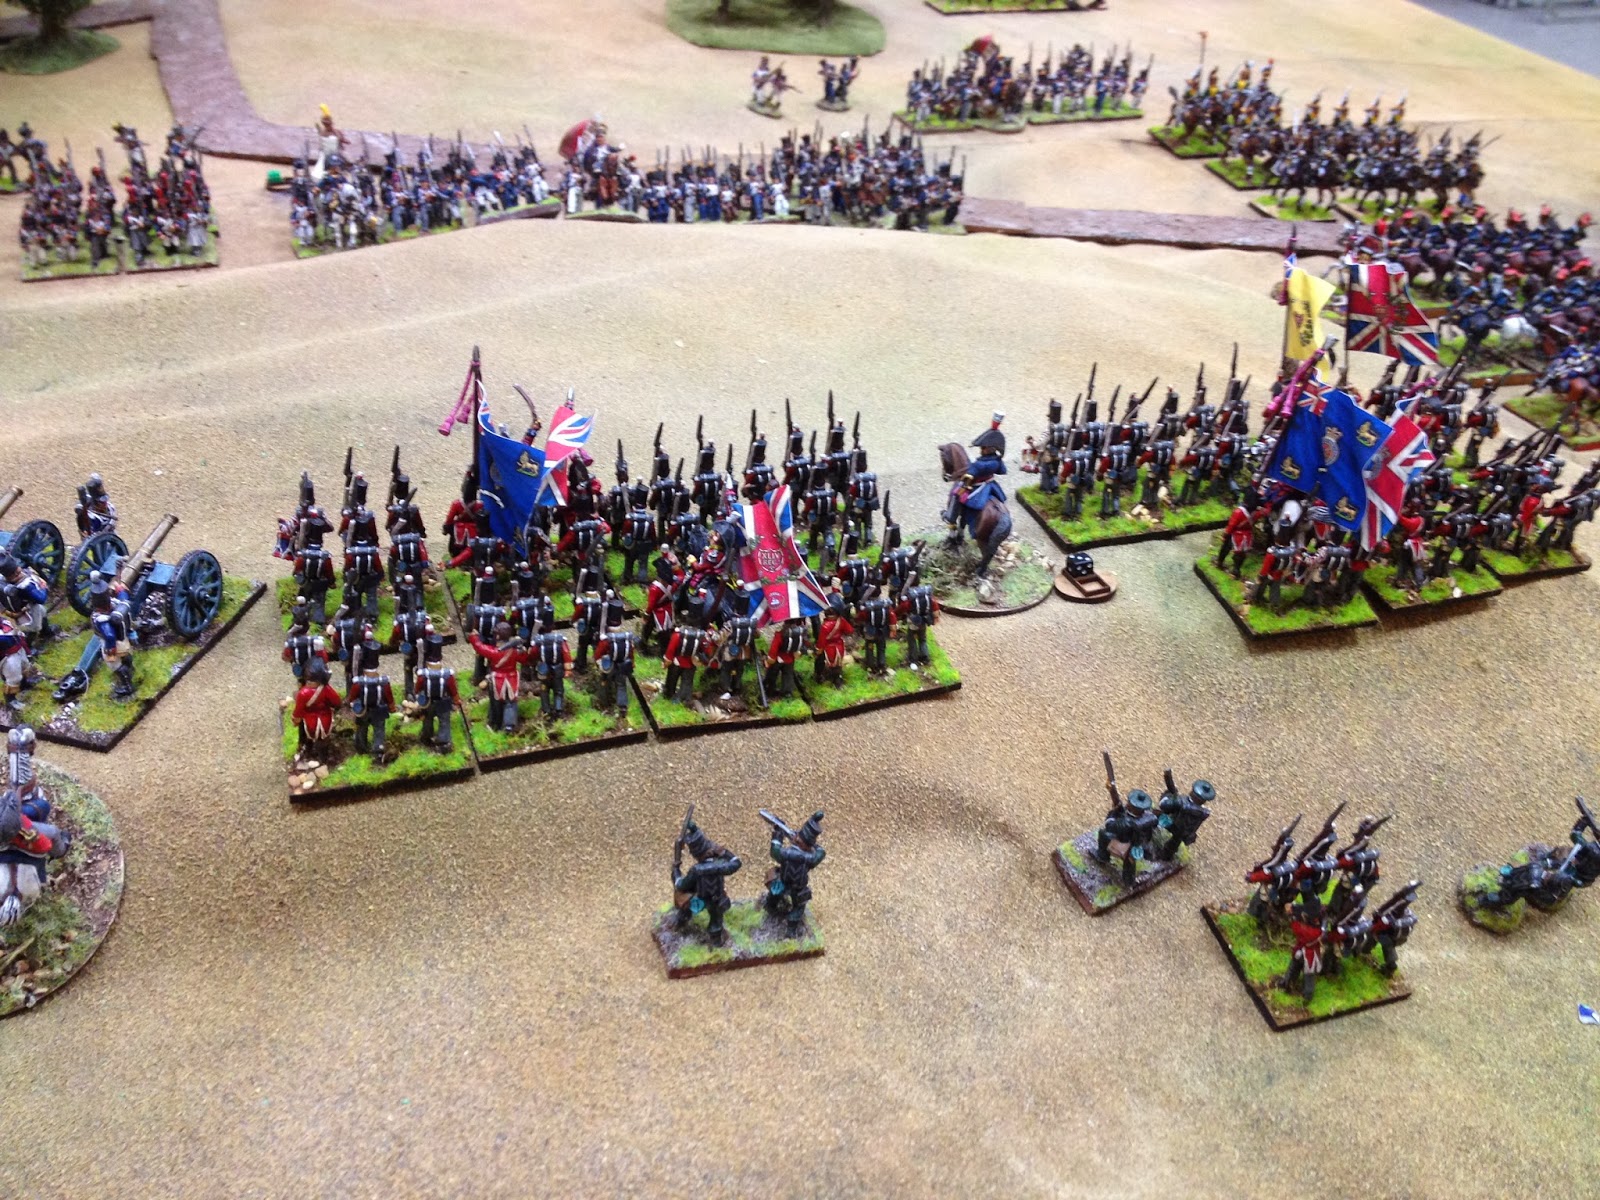
On the right the British have moved to threaten the French flank while the French artillery turn to face them.

A view along the ridge line. The main French effort is focused on the Light Division.

Charges going in all along the British left.


Further along the line another French column advances up the hill.

The redcoats fail to stop the charge.

The other charges also go in.

The British line assaulted by 4 columns.

The French pressure on the British line results in the British brigade..

losing initiative indicated by the red counter. In their next move the will need to take action to reduce the threat level against them.

A similar outcome on the other flank which is being assaulted by 2 brigades including an elite grenadier brigade.

The most threatened unit must lose a base which, after a 'dice off' turns out to be the battery! The brigade loses the initiative and must fall back.

The 95th fall back into Vimiero and the light infantry retreat off the table...

The other brigade sees a unit withdraw behind a friendly unit. Having lost initiative the brigade is unable to execute their flanking movement.

The French columns react to the British by wheeling to threaten the their flank.

The French Grenadier brigade also turns to face their flank in response to the sight of dust clouds to the west.

The British wheel their line to face the new threat to their flank. The remaining British brigade now has 2 French ones to deal with.

The French charge.

But the redcoats hold them off and they react to their failure to charge home by deploying into line.

The beleagured Light Division once again lose the initiative.

A large gap in the line appears, will the reinforcements arrive in time to save the day? With both British brigades having lost initiative again its a case of holding on as best as they can.

So we called it a day as time was getting on with the British still in control of the ridge which was the main objective. How long they could continue to hold is anyone's guess but the British commander was distinctly lacking in morale.
We have decided to introduce a special rule for skirmishers to reflect the tactical realities of the Peninsular war. The British brigade skirmish screen in the reaction phase will be allowed to reform and take up its usual position on the left of the Brigade. British and French light infantry battalions operating as skirmishers can reform behind their own lines.
Next week we will be doing the Spartacus slave revolt in 10mm using Hail Caesar.