McPherson's Ridge- Gettysburg
We had this game at the club on Wednesday and its a scenario taken from the last WSS magazine. After reading a thread on the Black Powder forum regarding a different command mechanism i decided to give this a run out here. The way we did it was to allocate each commander a different coloured dice which would be drawn out of a cup Bolt Action style. The c-in-c die when drawn could be held back and played at the end of any further command move or used immediately
. The idea of this being to give the c-in-c opportunities to intervene if an opportunity presented itself.
Tom and Carl took the Rebs and Pete and Darren took the Yankees with me as umpire.
The start with the Rebs on the left and the Union on the right.

The Union right flank facing a weak Confederate Brigade.

The Union right defending the ridge with four large battalions.

Close up of one of the large Reb units (Renegade) on their right wing ready to get stuck in.

A base of Dixons Rebs.

Pete moved first and made an adjustment to his right flank unit hiding in the woods.

Ineffective fire from the Union. This was followed by a failed command roll by the Confederates opposite.

The Union left was up next and swung the right hand unit to join up with the end of the other brigade. The Confederates opposite failed to move.

Next go and its Pete again firing at the Rebs inflicting one casualty.

The second union Brigade got the next go and shuffled to the right text book style!
His artillery fired at long range causing a casualty.

Toms weak Rebel Brigade moved out of the woods and let fly at the unit opposite causing a casualty.

Carl went next and moved 2 of his units to threaten the flank of Petes' Brigade.

The other 2 units advanced towards the corn field.

First casualties on Darrens brigade from Carls' musketry.

The c-in-c then ordered one of Petes' units to reinforce the flank.

Things begin to hot up on the Union right flank with the Confederates getting to go first this time and electing to charge. So 2 tiny units and 1 small units getting stuck into two large units of the Iron Brigade! Hard as nails these lads! Closing fire failed to stop the Rebs despite fire causing casualties so in they went.

The melee proved inconclusive.

Some close ups of the opposing forces.


Darren advances towards a possible weak point in the centre of Carls' Brigade, his artillery causing further casualties.

Carl went next and charged 2 of Petes' left hand units.
Again closing fire failed to stop the assault.


The small unit was destroyed and removed from the game while the other combat was inconclusive.

Pete went next and continued the fun by swinging another unit into the flank of the Confederates. Once again all units held their ground.
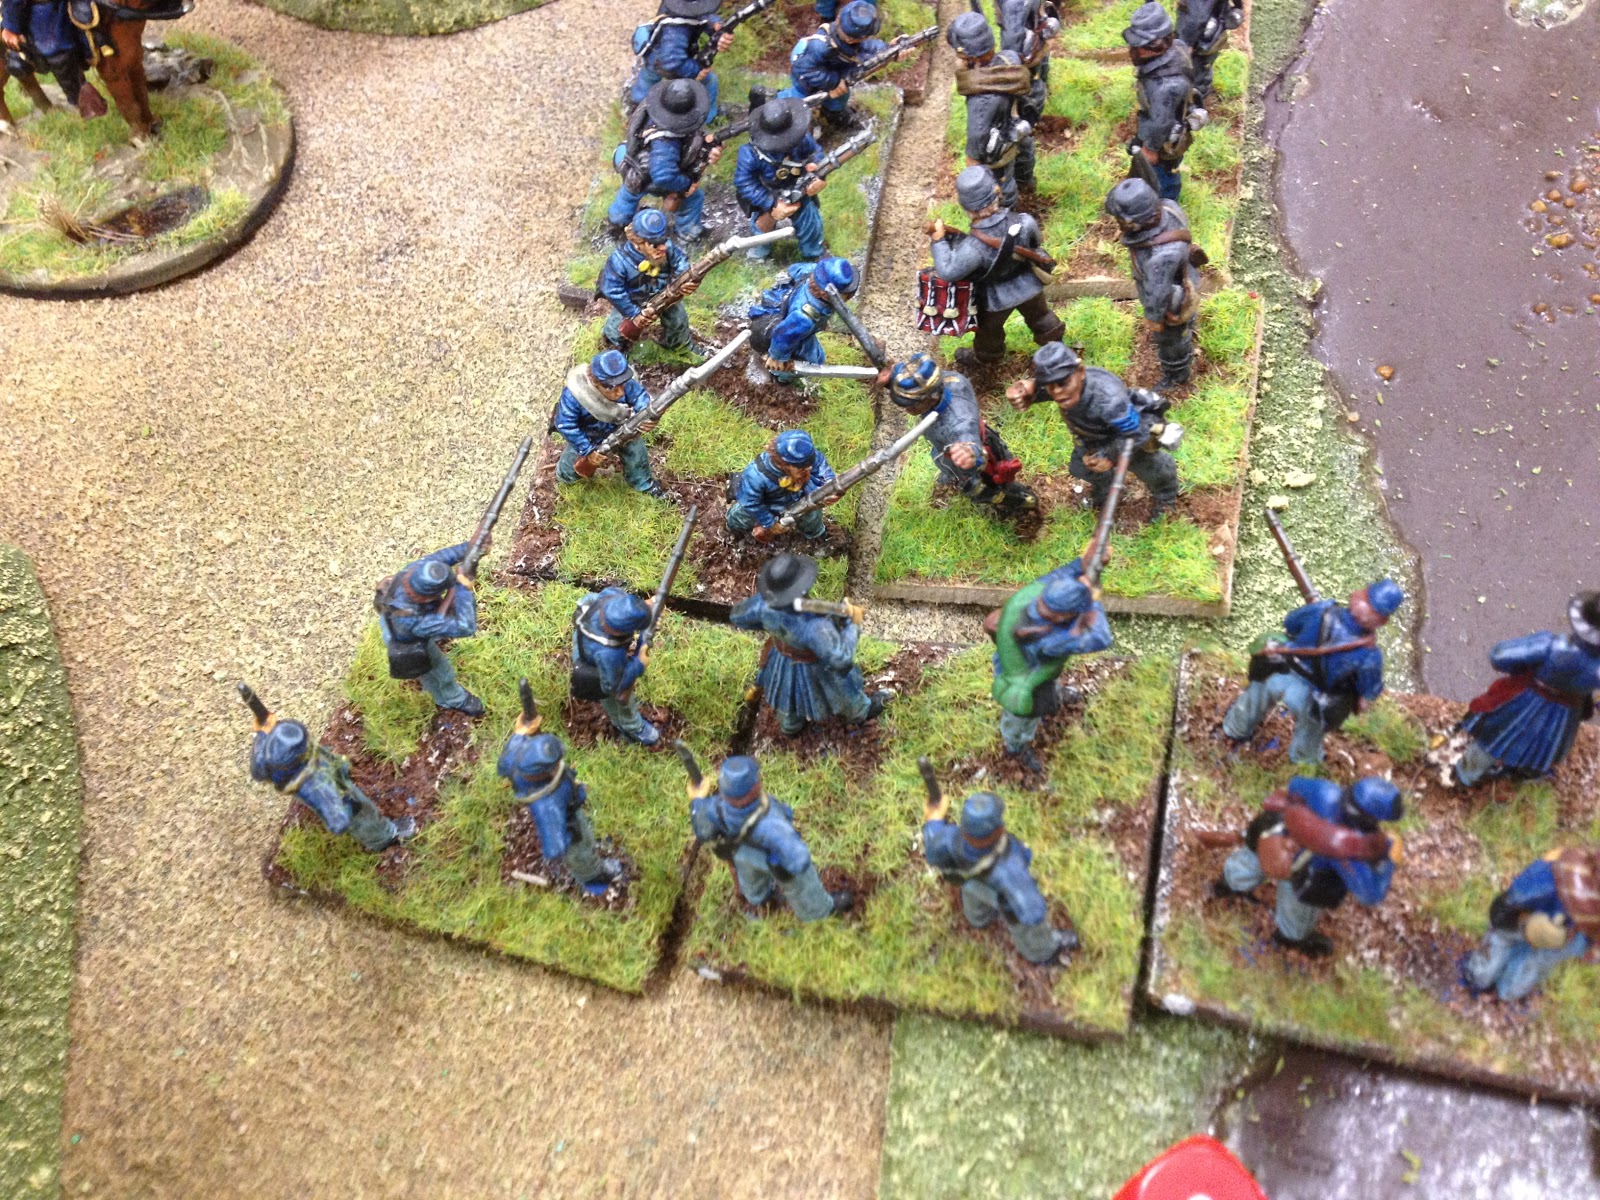
The key moment of the game arrived when the Confederates threw in their c-in-c (his die had actually come out first this turn) ordering one of Carl units to attack the flank of the Union unit in melee.

This unit broke and fled when Pete threw a 3. This Brigade was now broken and would be required to fall back in subsequent move.

This is the scene at the end when it was agreed that the Union forces would be unable to hold the ridge.

I intend to give this another go as i think it looks promising, probably with Napoleonics, but will tweak it as follows-
One dice for each brigade per side but same colour, the c-in-c to decide which brigade goes first.
A different coloured dice for each c-in-c. This can be held in reserve and used when required.
Thanks for looking.
Mick.


