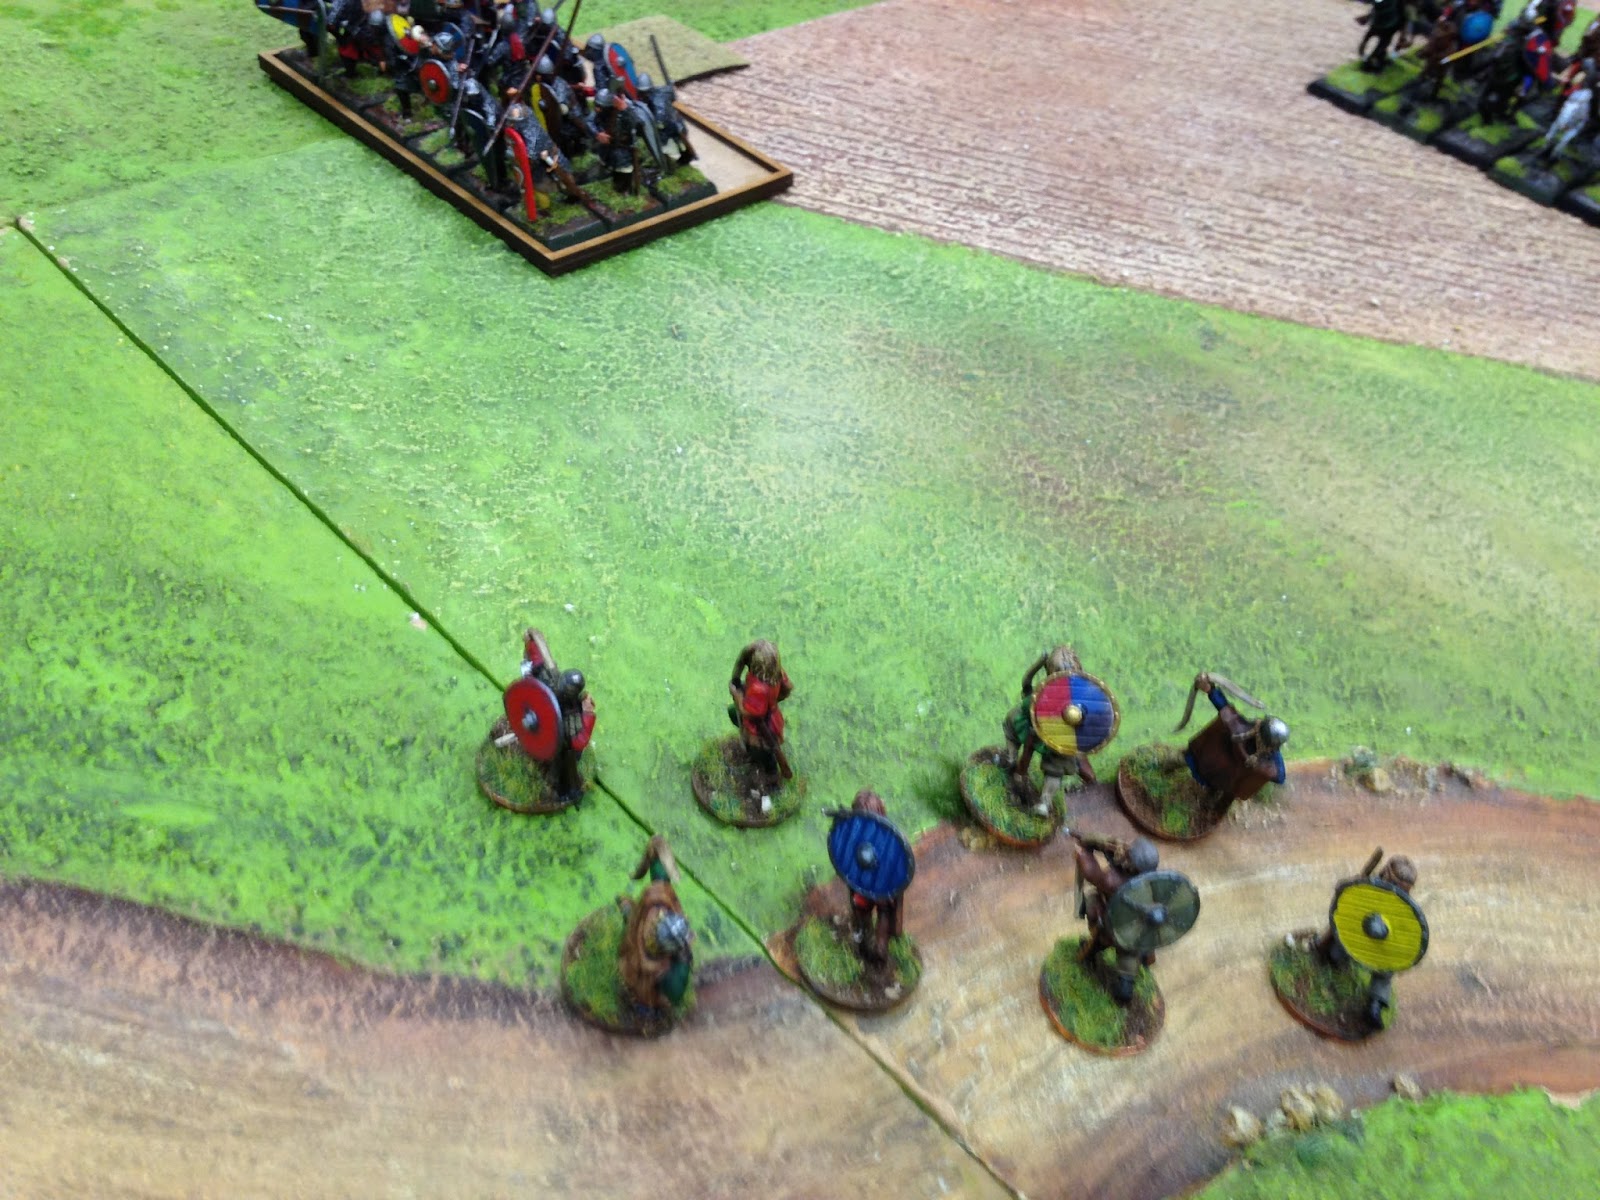
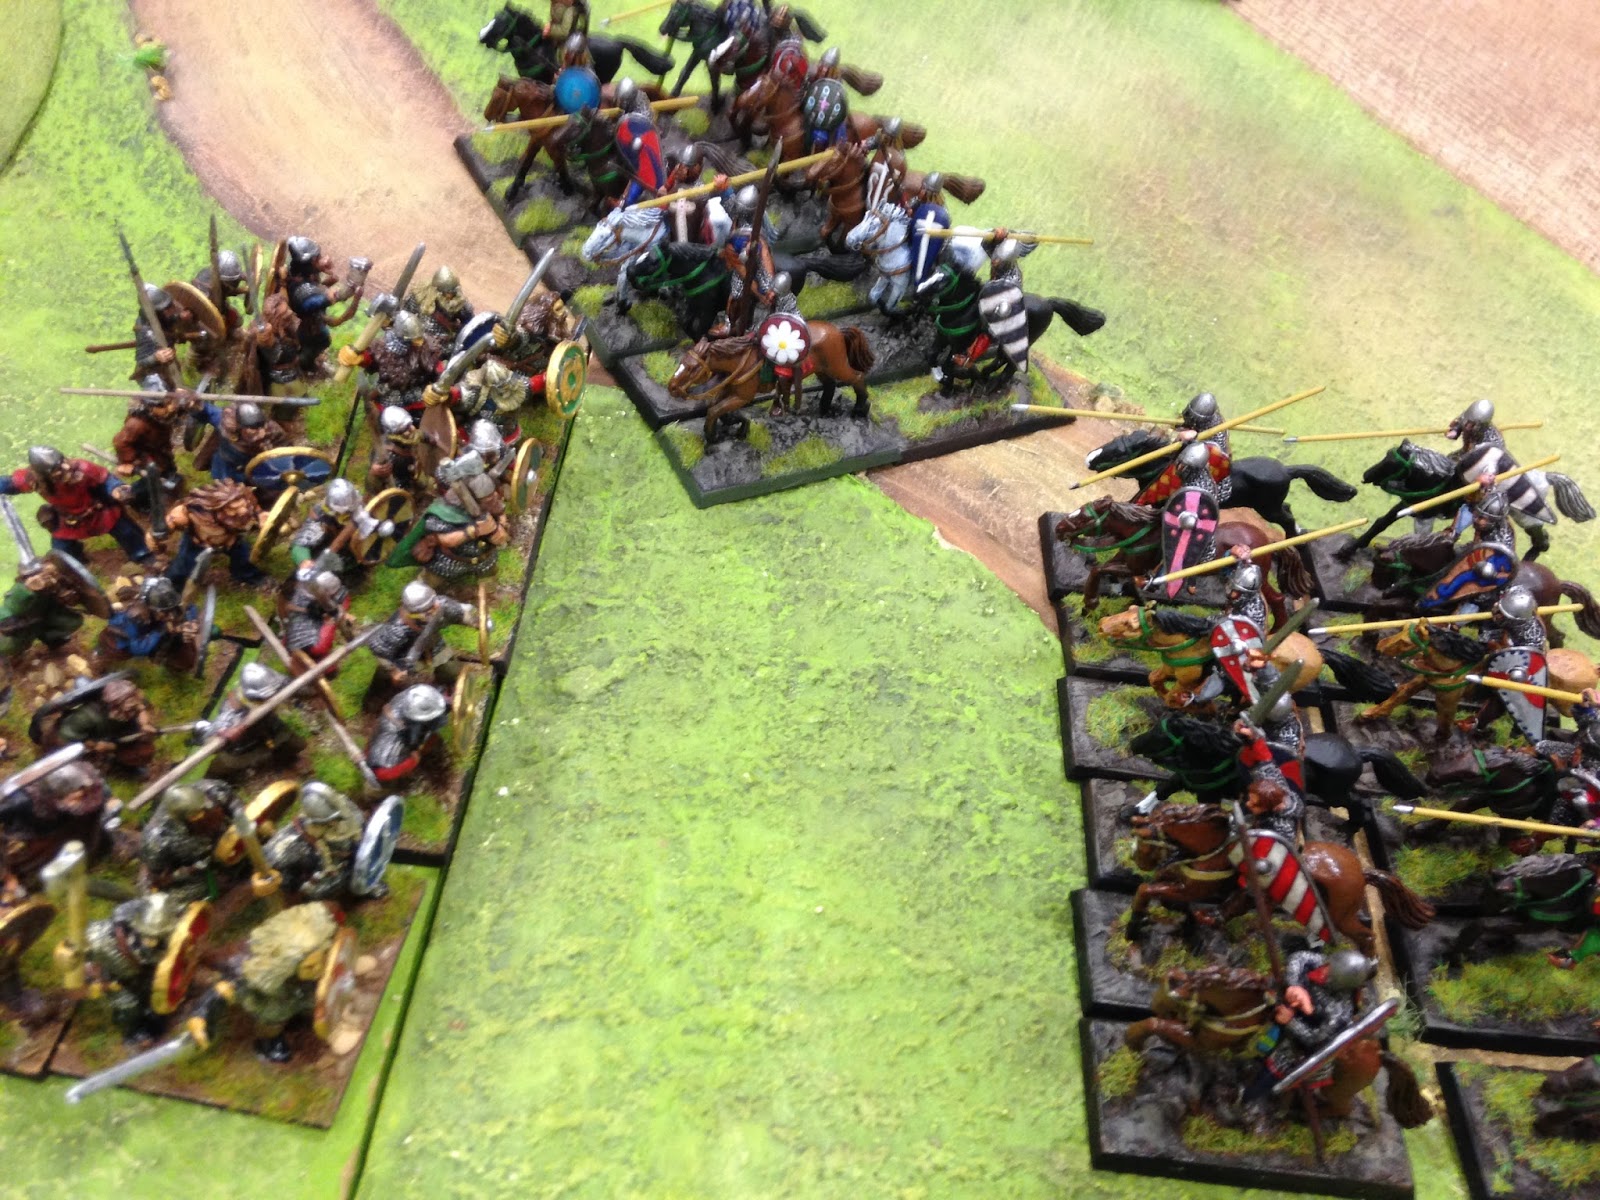
This game was a straight copy of the Napoleonic scenario in the Black Powder rule book. I used my British 5th Division and Chris brought his French as the opposition.
Opening positions, Allied 5th Division. They must get at least 50% of their units off the table across the bridge and through the defended town just out of the picture to the right.

One battalion defends the bridge.


A panoramic view of the field.

The French enter the town.

French cavalry Brigade.


Two Allied Brigades begin the retreat protected by the cavalry and British Brigade.


More French troops arrive.

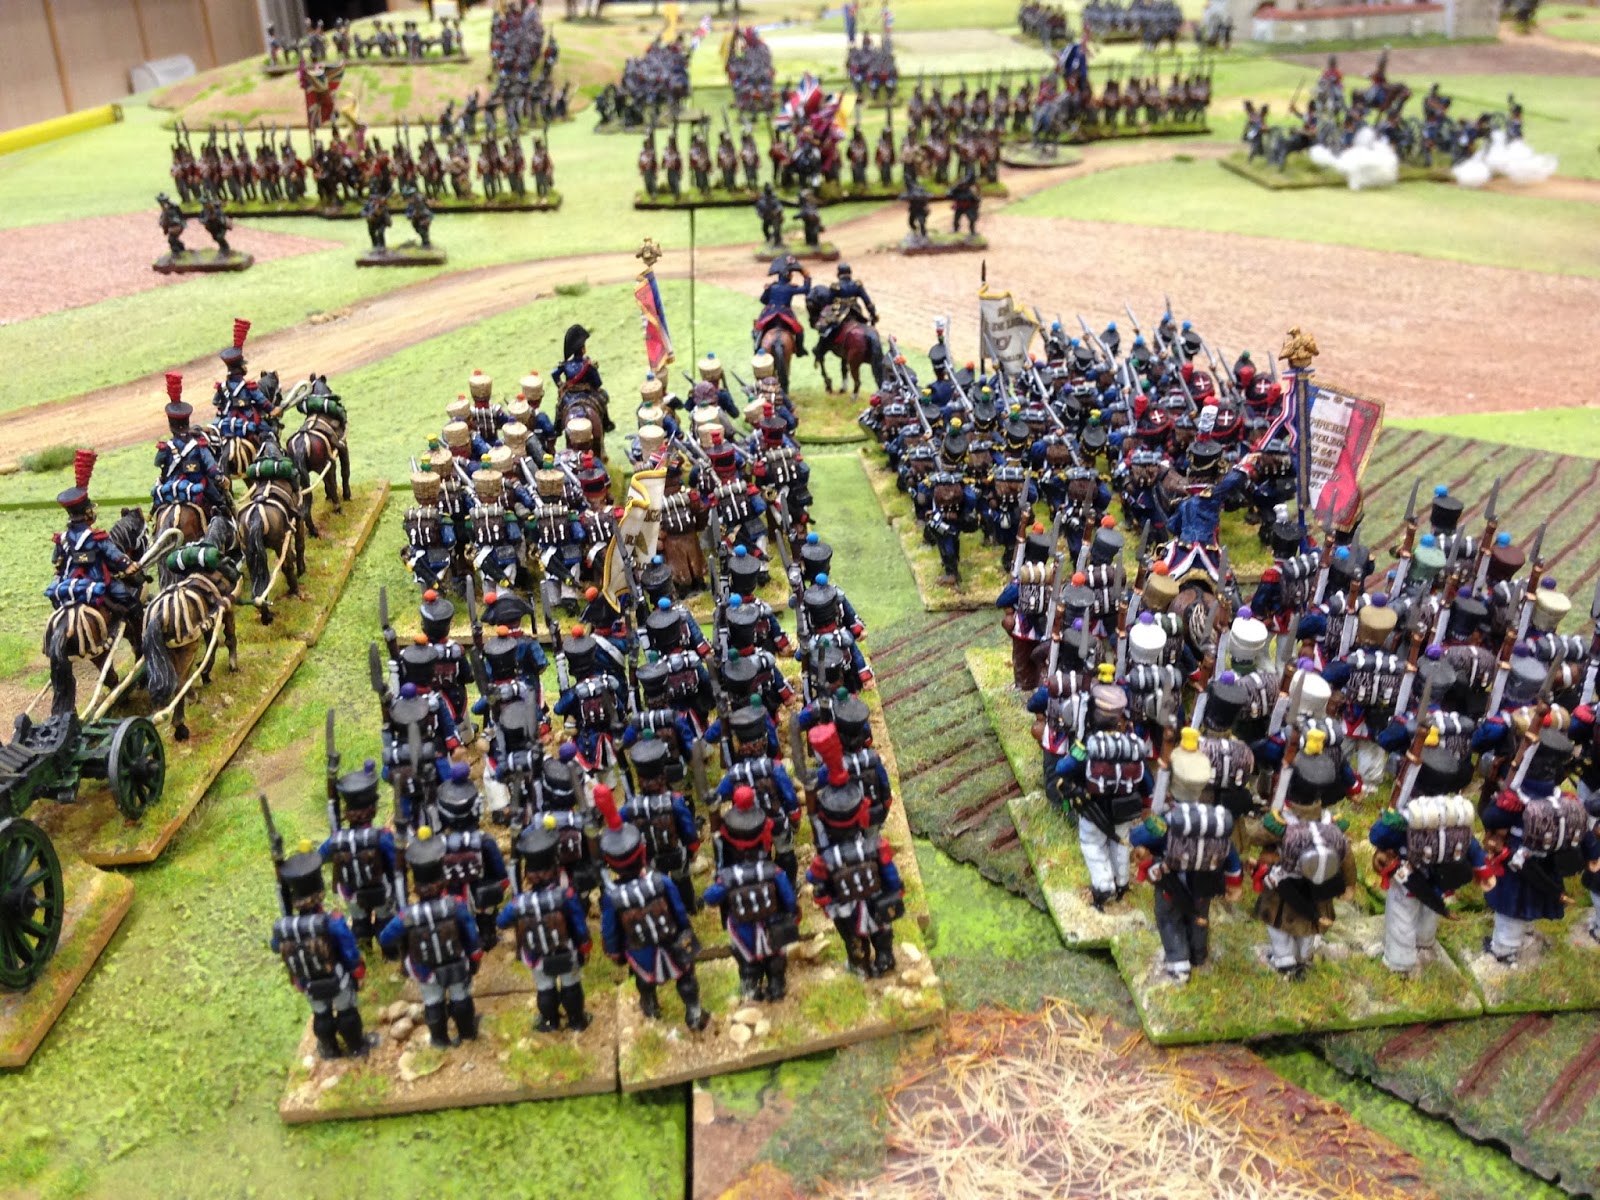
French lancers charge British Dragoons using a 'follow me' order.

The British are disordered with 3 casualties. The marker indicates disorder happened in the enemy turn. At the end of the turn it will be turned over to Disorder 1 to ensure the unit remains disordered during its own turn.

Lancers are also disordered.


The protecting Brigade steadily gives ground.

The other Brigades converge on the bridge, the Portuguese are given the task of assaulting the bridge and town.

The French lie in wait.


This time French Chasseurs and the British Dragoons engage.


The French form a Grand battery.


The lancers have reformed behind the remaining unit in the brigade.

The Dragoons are again pushed back.

The Portuguese fail their order to attack the bridge.

Artillery prepare to bombard the town.

Withdrawal continues covered by cavalry and artillery who refuse to withdraw!
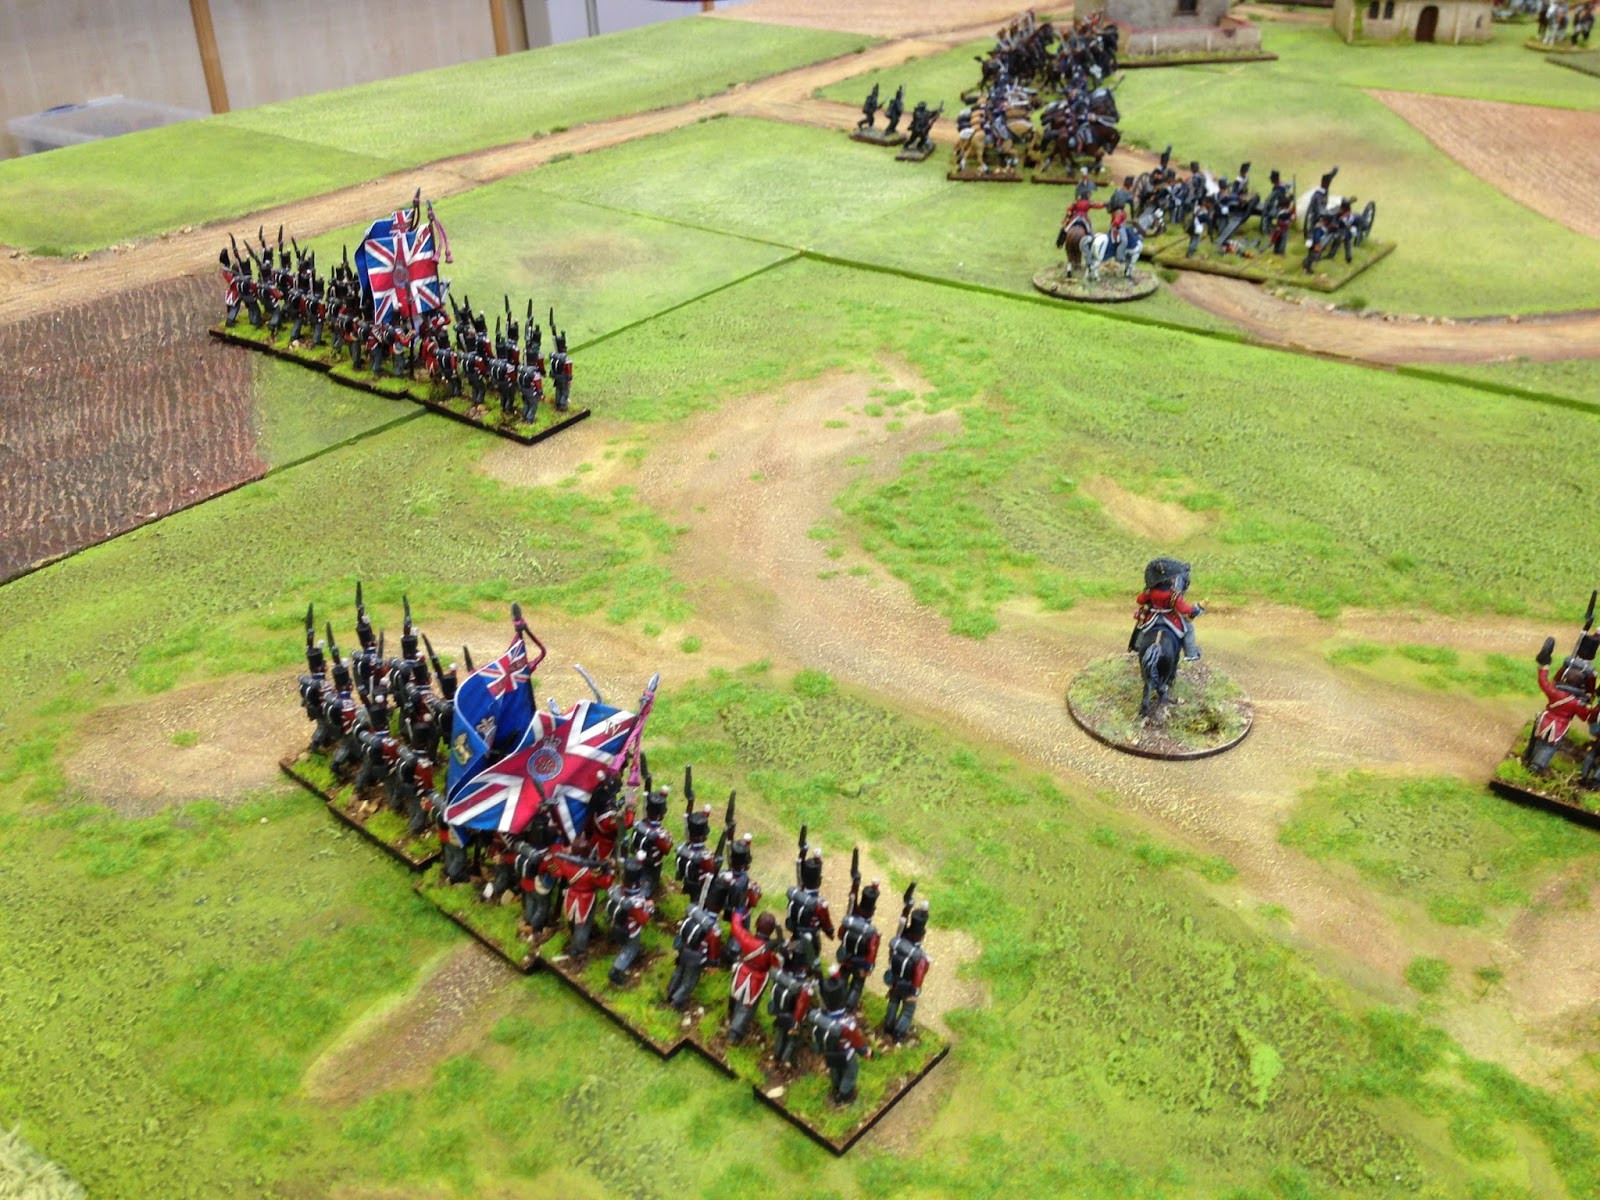


The French occupy the buildings while skirmishers cover the bridge.


More French eventually arrive.


Disordered by counter battery fire.

Threatened by cavalry the French form a Brigade square.

Others form attack columns.


KGL hussars charge the French column.

The French cavalry attempt to move and support the infantry.

However the French column is destroyed.

The Hussars fall back to reform.

A British unit enters the small village to create a strongpoint.

The British withdrawal is going well but their 2 artillery batteries remain exposed.

The congested area in front of the bridge. The Portuguese refusal to attack is making the situation critical.

Heroic last stand of the Royal Artillery.

British Light Dragoons attempt to save them from French cavalry.

A British Brigade is ordered to assault the town and marches over to clear the skirmish screen.


The isolater RHA battery remain at their pieces and will go down fighting.


The French right wing is pinned in square by British cavalry.

as is the right. The Royal Artillery battery has been wiped out but the British cavalry pushed their opponents back .


The British assault continues.


The RHA desperately try to escape the same fate as their RA colleagues and limber up.

They are caught by French cavalry and destroyed.

British infantry clear the village and units begin to pour over the bridge.

The French decide to assault the strong point instead of marching around it.

Artillery deploy to bombard the congested area in front of the bridge.

A succession of poor command rolls for the French has left them too far behind to prevent the Allies escaping.

The French are repulsed from the strong point.

6 units have escaped up to this point.

plus the unit now occupying the village.

Remaining units form march columns and advance to safety.

The French again assault the strong point.

Cavalry face off.


Again the French are thrown back.

The British evacuate the strong point covered by cavalry as the final units march over the bridge.
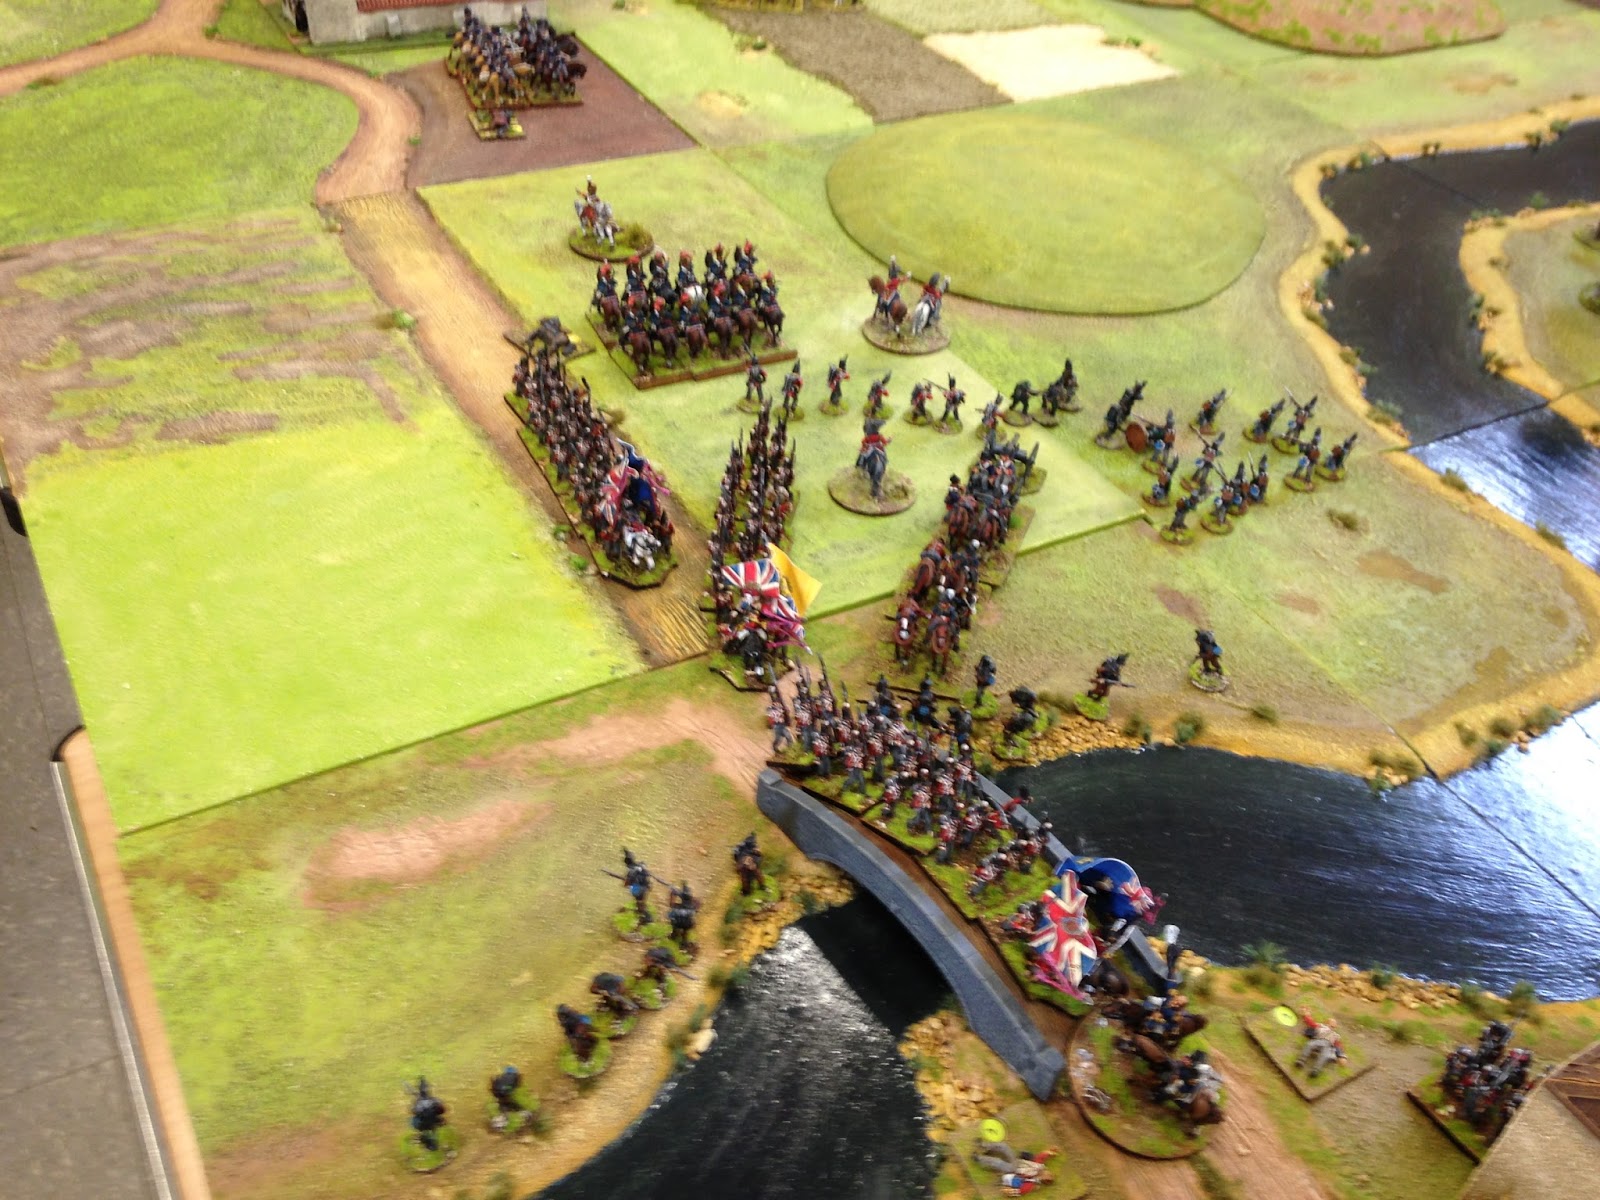


A final clash of cavalry.

and the French Dragoons are destroyed.


An excellent game which lasted all day. The French suffered from poor command rolls which prevented them from pressing the Allied withdrawal and the early use of the'Follow me' order, while lots of fun left the remaining cavalry units isolated when they may have been useful in slowing British down by forcing them into square.
Allies- Mick and Carl
French-Tom, Chris and Richard.
We used the heavily amended Black Powder rules brought to the club by Chris.
Thanks for looking.
Mick and Carl
Allies- Mick and Carl
French-Tom, Chris and Richard.
We used the heavily amended Black Powder rules brought to the club by Chris.
Thanks for looking.
Mick and Carl