Tuesday, 3 December 2013

Battle Of The Denmark Strait

We had a WW2 sea battle game on Monday using Dave"sheepman" Huntley's ships.We did as you can see by the title the Battle Of The Denmark Strait between the Bismarck and the Prinz Eugen against the HMS Hood and the HMS Prince Of Wales.
Myself and Mick took the Germans while Tom took the Brits Dave was the umpire.The rules we used in this game were Naval Thunder.
HMS Prince Of Wales
HMS Hood


The Bismarck


Prinz Eugen


Starting positions with the Germans on the left and the Brits on the right.The Germans could achieve a draw by getting off the bottom right side of the table or a win by destroying the hood and escaping.


The Hood and the POW alter course toward the Germans.


The Prinz Eugen starts to make its way away from the battle but the Bismarck unexpectedly veers off and speeds towards the British ships.


The Bismarck fires its forward guns at the Hood destroying one of its main guns.


The Hood returns fire but only causes minimal damage.


The POW also fires but the results are the same as the Hood.


The Bismarck again fires this time at the POW and destroys one of its secondary turrets.


The Prinz Eugen opens fire on the Hood but its guns are not powerful enough to penetrate its armour \and only deals superficial damage.


The Hood attempts to fire on the Bismarck with is now moving in the opposite direction of the escape point but deals only minimal damage.


The Prinz Eugen fires at the Hood but fails to hit.


The Bismarck fires all its main guns on the Hood.


It hits and causes a large fire to start.


Having managed to put out the fire the Hood fires its forward guns on the Prinz Eugen but only minimal damage is caused.


It then fires its rear guns at the Bismarck.


It hits and starts a fire but it is immediately put out.


The Hood realising that the Prinz Eugen is having little effect against them it turns its attention to the Bismarck who seeing this starts to turn away.


 The ships prepare to exchange fire.


The Hood fires on the Prinz Eugen causing minor damage.


The Bismarck fires its rear guns on the POW hitting its engines causing its maximum speed to decrease.


The Prinz Eugen fires on the Hood and only causes superficial damage.


The Bismarck and the Prince Of Wales exchange broadsides with the POW's engines once again hit but one of the Bismarck's main guns is hit and destroyed.


The Hood fires on the retreating Prinz Eugen it penetrates its hull causing some flooding although not enough to sink it.


The Bismarck desperately attempts to escape the continuous bombardment by the Hood and the POW but it is badly damaged by this point.


The Bismarck fires and hits the Hood's engines and with its now superior speed moves to escape.


The Prinz Eugen escapes.


The Bismarck fires again on the POW but only causes minimal damage.The Prince Of Wales and the Hood return fire causing much damage.


The Bismarck having accumulated too much damage starts to take on water and capsizes and sinks.


With the Bismarck sunk and the Prinz Eugen badly damaged it was a victory for the allies although the Price Of Wales was badly damaged as well.


This was our last Monday as due to the low amount of members who could make it we have switched back to Wednesdays.


Thanks For Reading

Carl


Wednesday, 20 November 2013

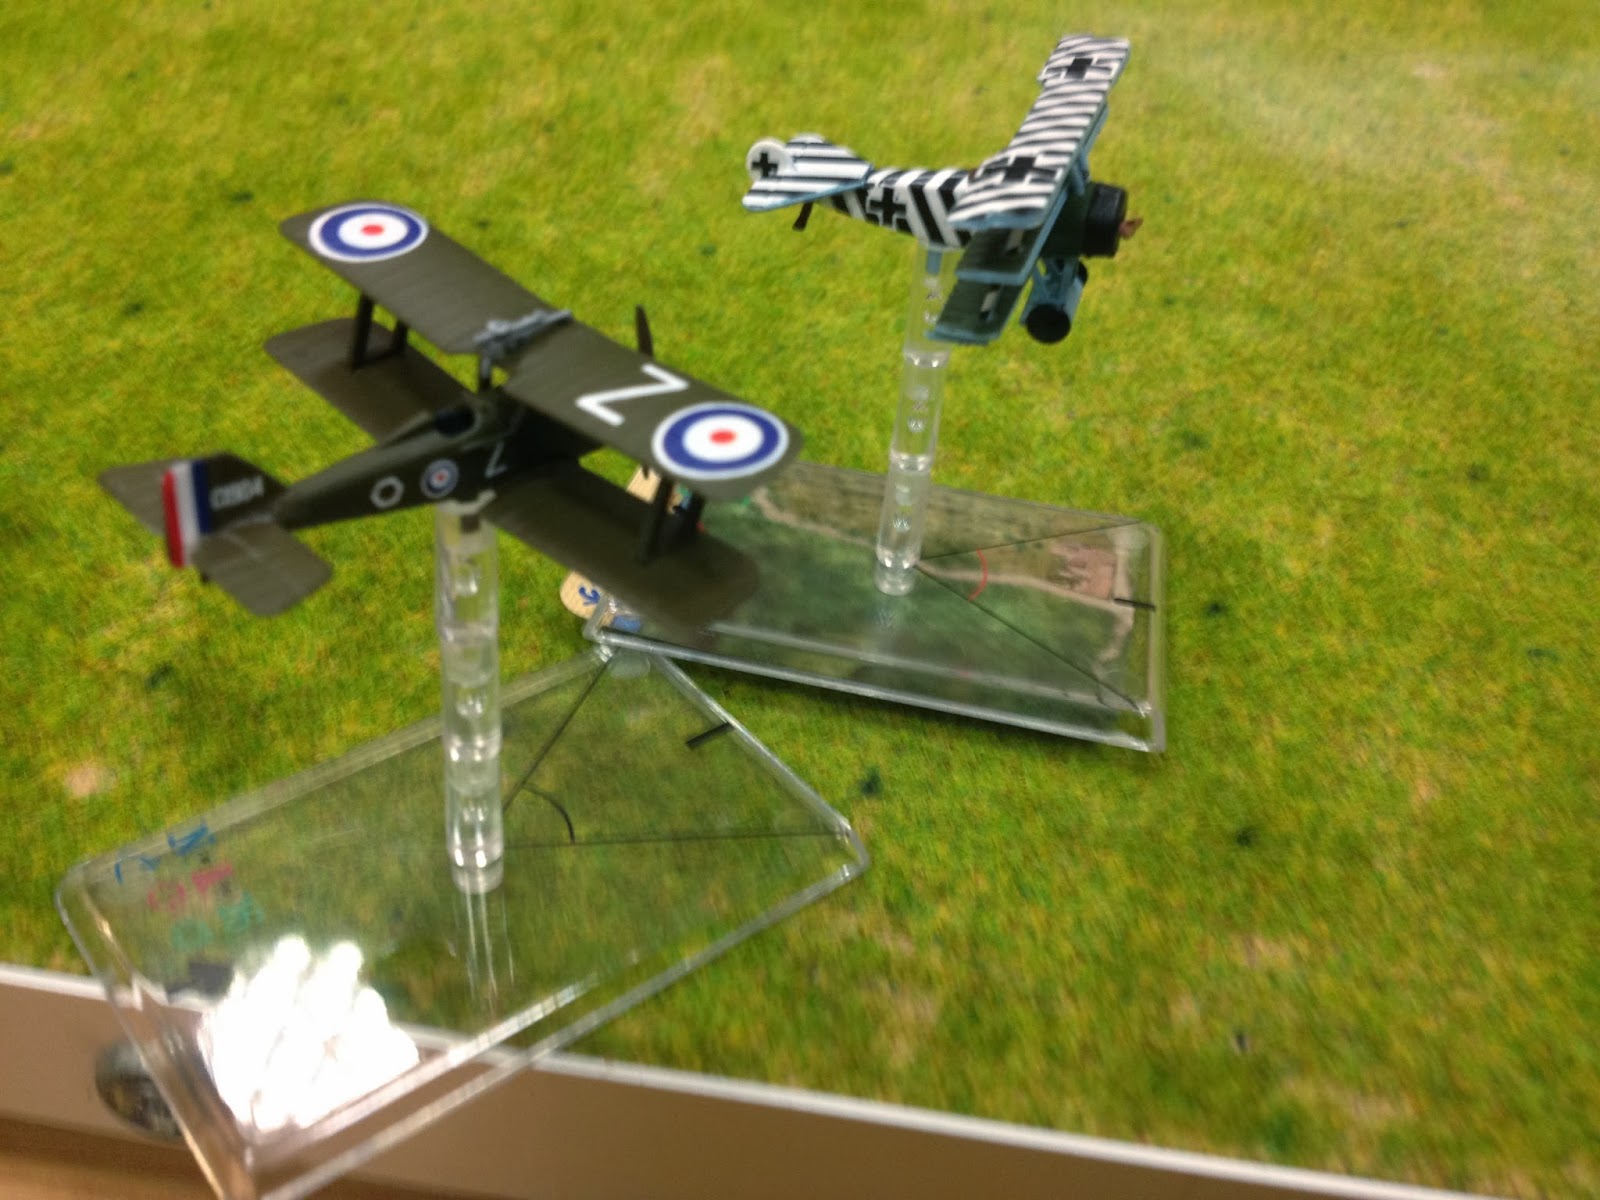
We had our Annual General Meeting on Monday and elected our new club president Dave"sheepman"Huntley and afterwards we had a game of Wings of War using Toms planes.
 
 
We did a four Germans vs three British dogfight.
 
 
Tom-SE5 A
Derek-SE5 A
Pete-Sopwith Camel
 
John-Fokker DVII
Myself-Fokker Triplane(Black and White)
Dave-Fokker Triplane(Yellow and Green)
Mick-Fokker Triplane(Red)
 
Both sides close in on each other.
 
 
One of the triplane's makes a sharp turn and another is forced to evade as a result attracts the attention of the Sopwith Camel.
 
 
The Sopwith opens fire but only manages to damage the paintwork of the triplane.
 
 
One of the SE5's(Derek's) gets in range of a triplane and opens fire but does no damage.
 
 
The triplane returns fire but also fails to hit.
 
 
The Triplane and the SE5 narrowly avoid hitting each other.


The Fokker DVII gets into range of an SE5 but is unable to fire due to a triplane in the SE5's airspace.
 
 
 The Sopwith with its superior speed manages to stay with the triplane despite its best attempts to escape.


An SE5 manages to get onto the tail of a triplane and gets into close range but incredibly only manages to hit the fabric.


The Fokker DVII a Fokker triplane and an SE5 all almost crash into each other but luckily they survive.
 
 
One of the SE5's gets into position and opens fire on the red triplane and badly damages its controls.
 
 
The Fokker loses control and crashes killing the pilot.
 
 
The black and white Fokker speeds away from the Sopwith while the other planes pair off.
 
 
The Fokker DVII fires on one of the SE5's but there is no damage.
 
 
The yellow Fokker is once again forced to evade as an SE5 nearly crashes into him.


The Fokker DVII manages to get closer to the SE5 but still fails to hit.
 
 
The Yellow Fokker is again forced to evade as the SE5 turns into him and the Black and white Fokker manages to dive down below the confusion.


The SE5 must have a death wish as he nearly crashes into the Fokker DVII.
 
 
The Sopwith and an SE5 close in on the Yellow triplane with the SE5 firing and missing it.
 
 
The triplane desperately tries to escape his pursuers while the other SE5 and the Fokker DVII engage in their own fight.


Now within close range the Sopwith and the SE5 open fire the Sopwith hits the triplane's engine causing it to cut while the SE5 destroys its undercarriage.
 
 
With the triplane rapidly losing height the British decide to move to attack the remaining Germans.
 
 
The Sopwith decides to attack his original target the black and white triplane while Tom's SE5 leaves the field having run out of ammo.
 
 
The triplane crash lands but the pilot survives and is taken to hospital.
 
 
The Sopwith gets into range of the last triplane but is lower than him so he is unable to fire.
 
 
The Fokker DVII manages to get a shot at the remaining SE5 but is unable to cause and damage.
 
 
The triplane continues to outmanoeuvre the Sopwith.
 
 
The DVII fires on the SE5 again but still cant hit it.
 
 
It then almost crashes into the SE5 but yet another crash is avoided.
 
 
The triplane attempts to get into position to fire its first shot.
 
 
He is unable to and is instead fired at by the Sopwith who hits the spars but the damage is not critical.At this point the Fokker DVII leaves the field having run out of ammunition.
 
 
The Sopwith leaves for the same reason leaving the remaining SE5 to chase down the triplane.
 
 
The SE5 uses its faster speed to catch up to the triplane but he is to low to be fired at.
 
 
The SE5 manages to get low enough to fire on the triplane but flys too close and is forced to evade.
 
 
The SE5 again flies to close to the triplane but manages to evade again.
 
 
The SE5 seems to have a death wish as he once again nearly collides with the triplane.
 
 
The triplane continues to frustrate the SE5.
 
 
The SE5 moves into range but running low on ammo he decides to wait for the best moment to fire.
 
 
The triplane does an immleman and both planes open fire but the triplane's gun jams and the SE5 only hits fabric.
 
 
With the SE5 out of ammo and the Fokker's gun jammed both planes part ways.
 
 
Victory for the Brits.
 
 
Thanks For Reading
 
Carl