Our Monday night game at the club this week saw the ACW figures make an appearance for a change. We did a scaled down version of the Antietam scenario from the Guns at Gettysburg rule book using those rules rather than our usual Black Powder. We managed to play 5 moves.
The opening attack
The opening attack
On September 17th 1862 General Hookers Union corps launched a powerful assault on General Lee's left flank of the army of Northern Virginia. The Confederates were tasked with holding at least 1 of the buildings while the Union needed to capture at least 2.
Deployment
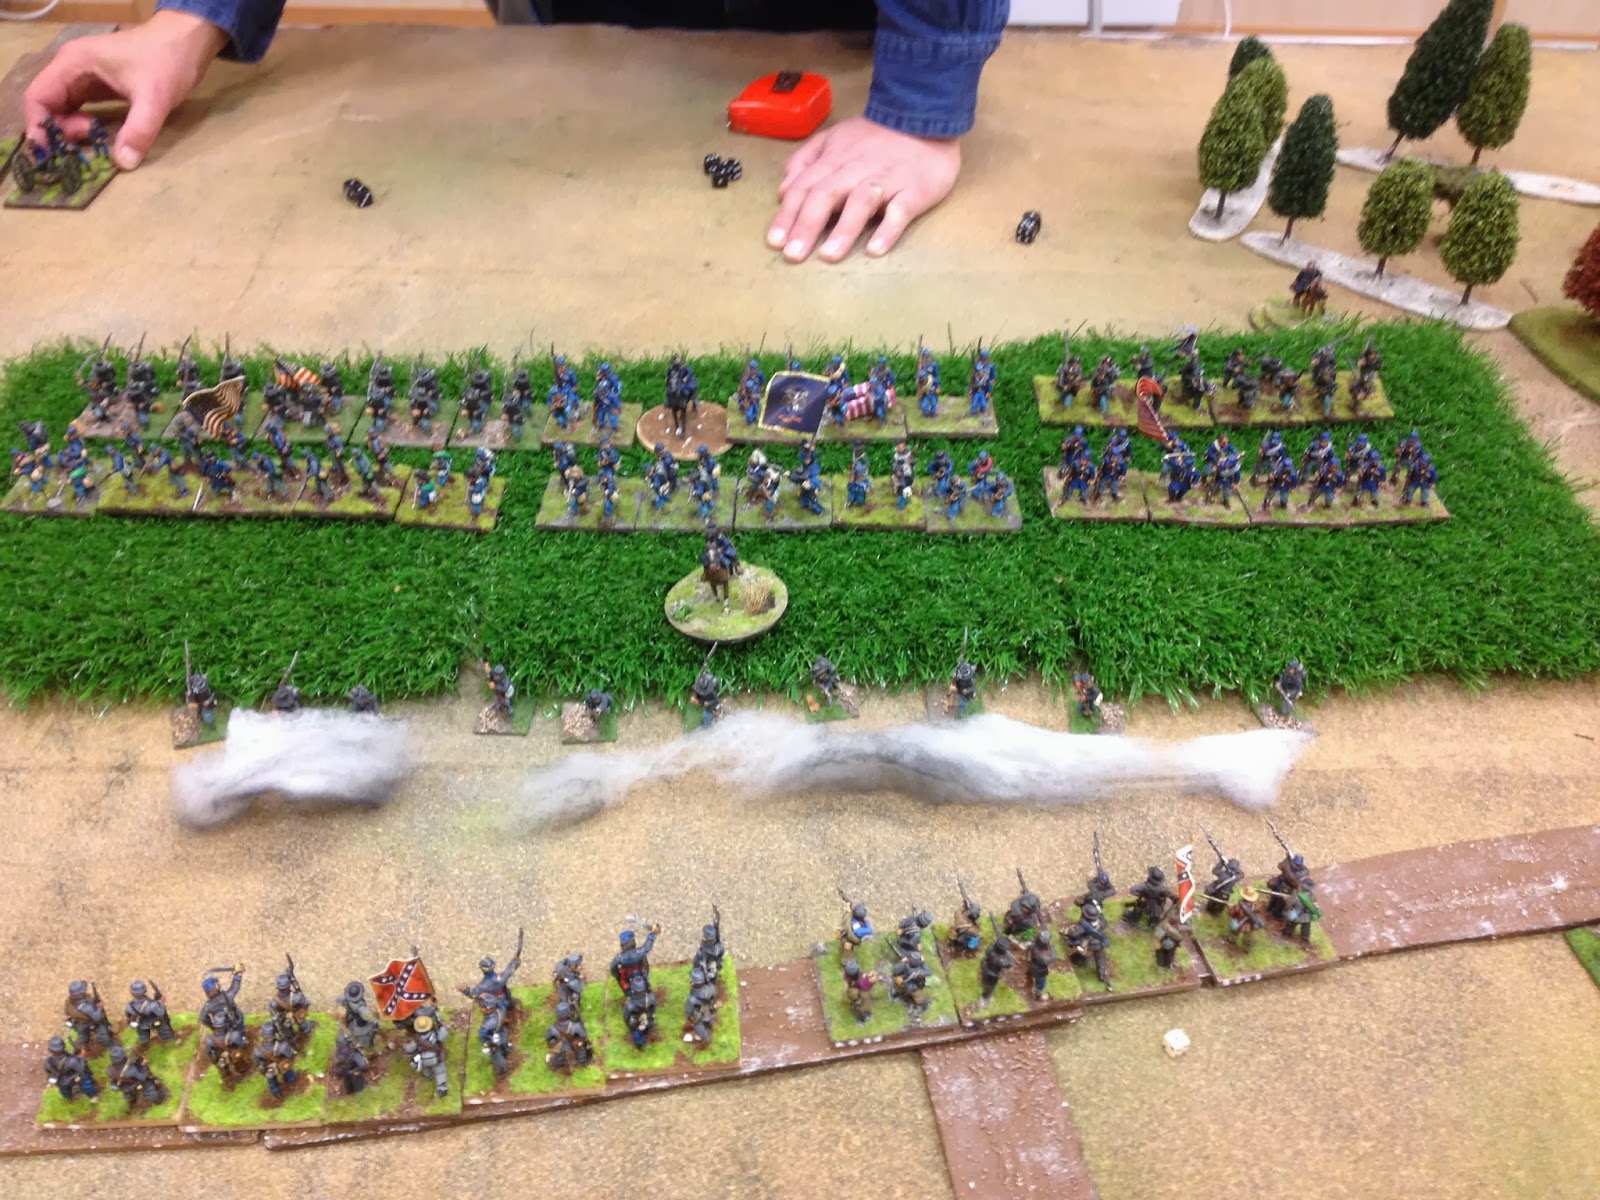
Union forces deployed North of the cornfield between West wood and East wood and between East wood and the Kennedy farm. Confederates deploy South of the cornfield.
Initial deployment, Union on the left, Confederates on the right.
Players
Tom- Union
Carl- Confederates
Mick- Umpire
Players
Tom- Union
Carl- Confederates
Mick- Umpire

Confederates.


Union.


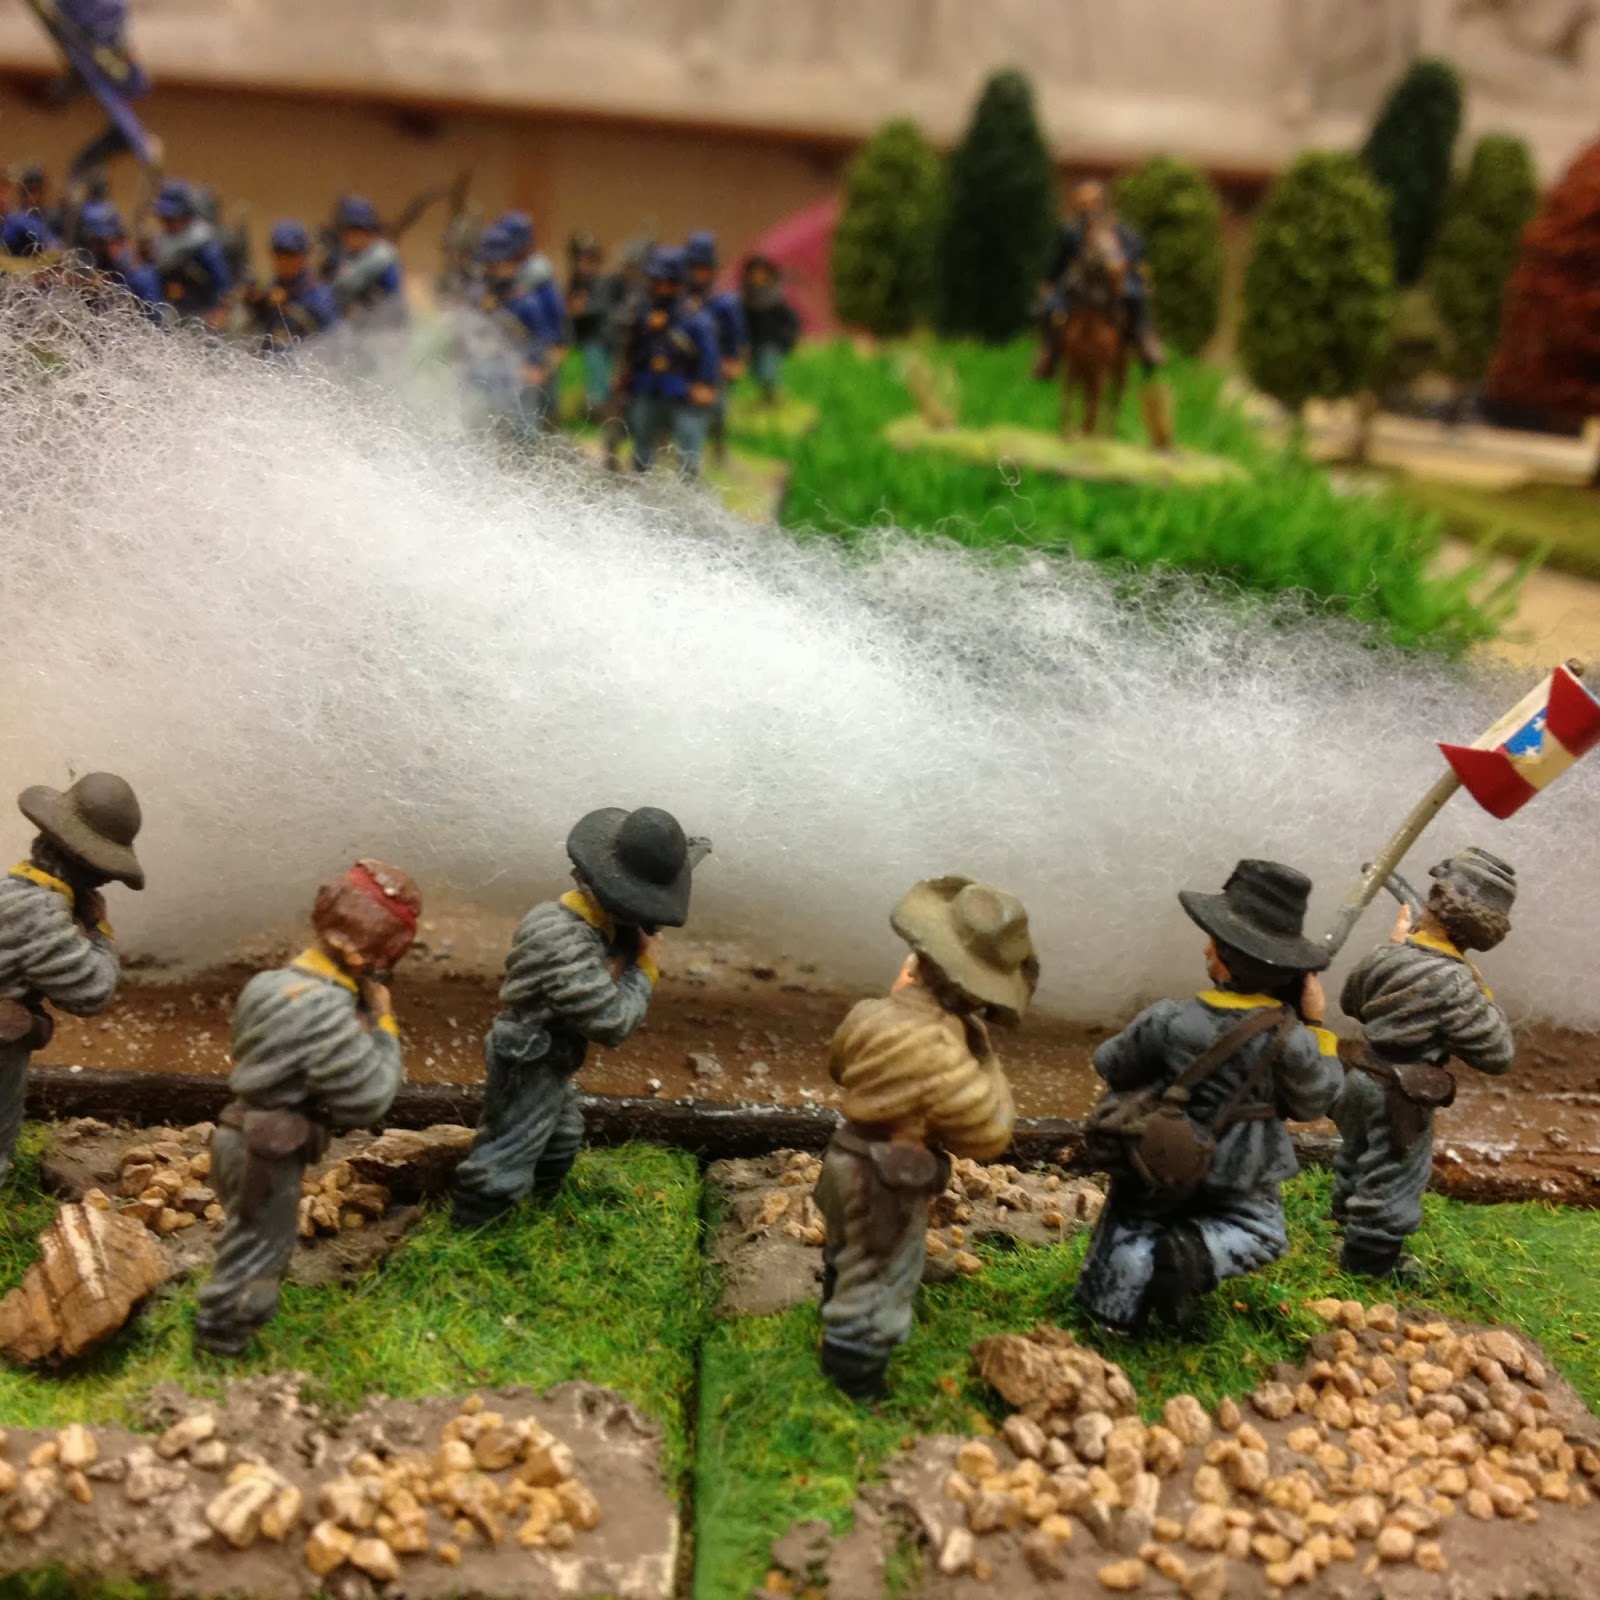
Union troops advance and are met by artillery rounds crashing through their ranks.

Counter battery fire on the other flank.

The Union right advances through the cornfield, visibility is restricted to 3 inches here.


Confederate casualties from artillery fire.


Union skirmishers open fire.

2 casualties are taken.


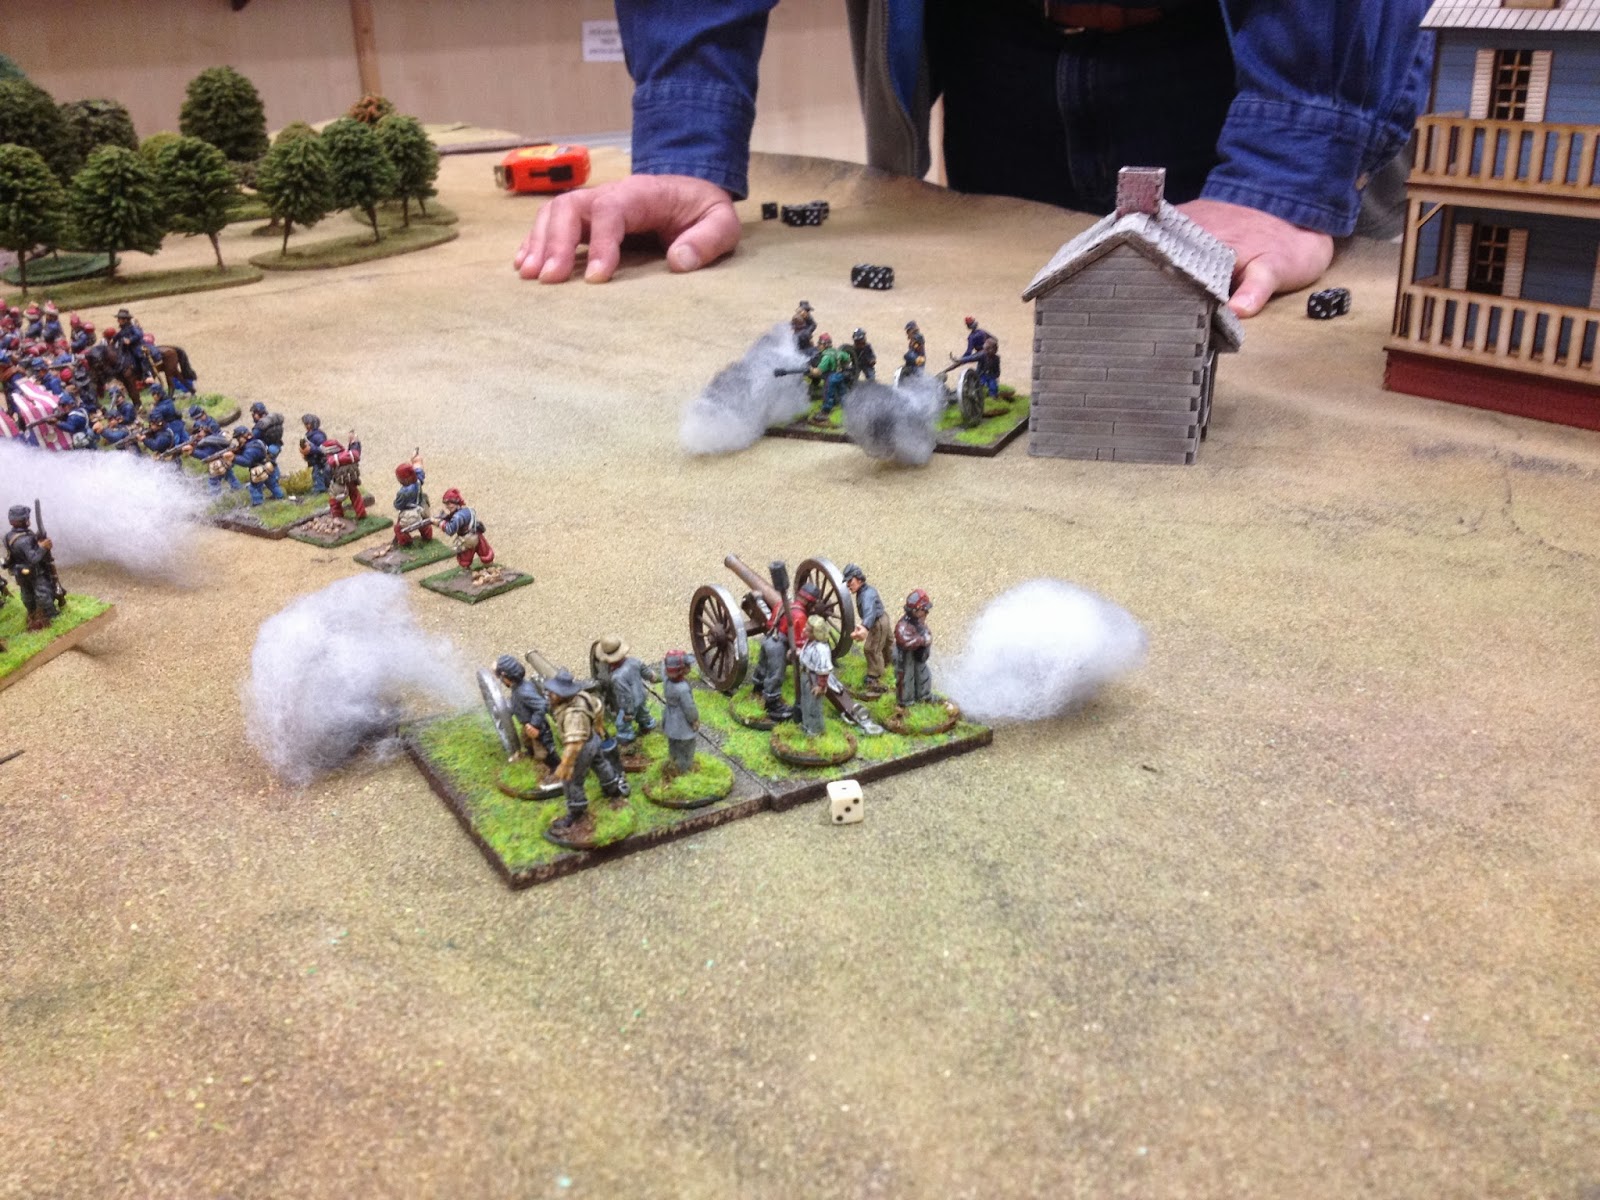
Artillery on both sides open fire.

1 casualty on the Union side.


And another.

Confederate artillery open fire on troops who had strayed too close to the edge of the cornfield.

Causing 1 casualty.

Union artillery open fire.

The Confederate line takes its second casualty of the game.


The Union skirmish line advances and opens fire
causing 1 casualty.

The artillery continues to take its toll on the Confederate line

which has now lost a base.

On the left flank Union artillery tries to silence the Rebel guns without success.

Skirmishers soften up the Confederates ready for an assault.


Opposing lines exchange fire.

Casualties continue to mount.

Ineffective artillery fire from the Rebs.

Their infantry do a little better.

The artillery continues to ignore their Union counterparts and deal with the line.


Running low on ammo the Union artillery is ineffective.


A Union charge is stopped in its tracks by Rebel firepower

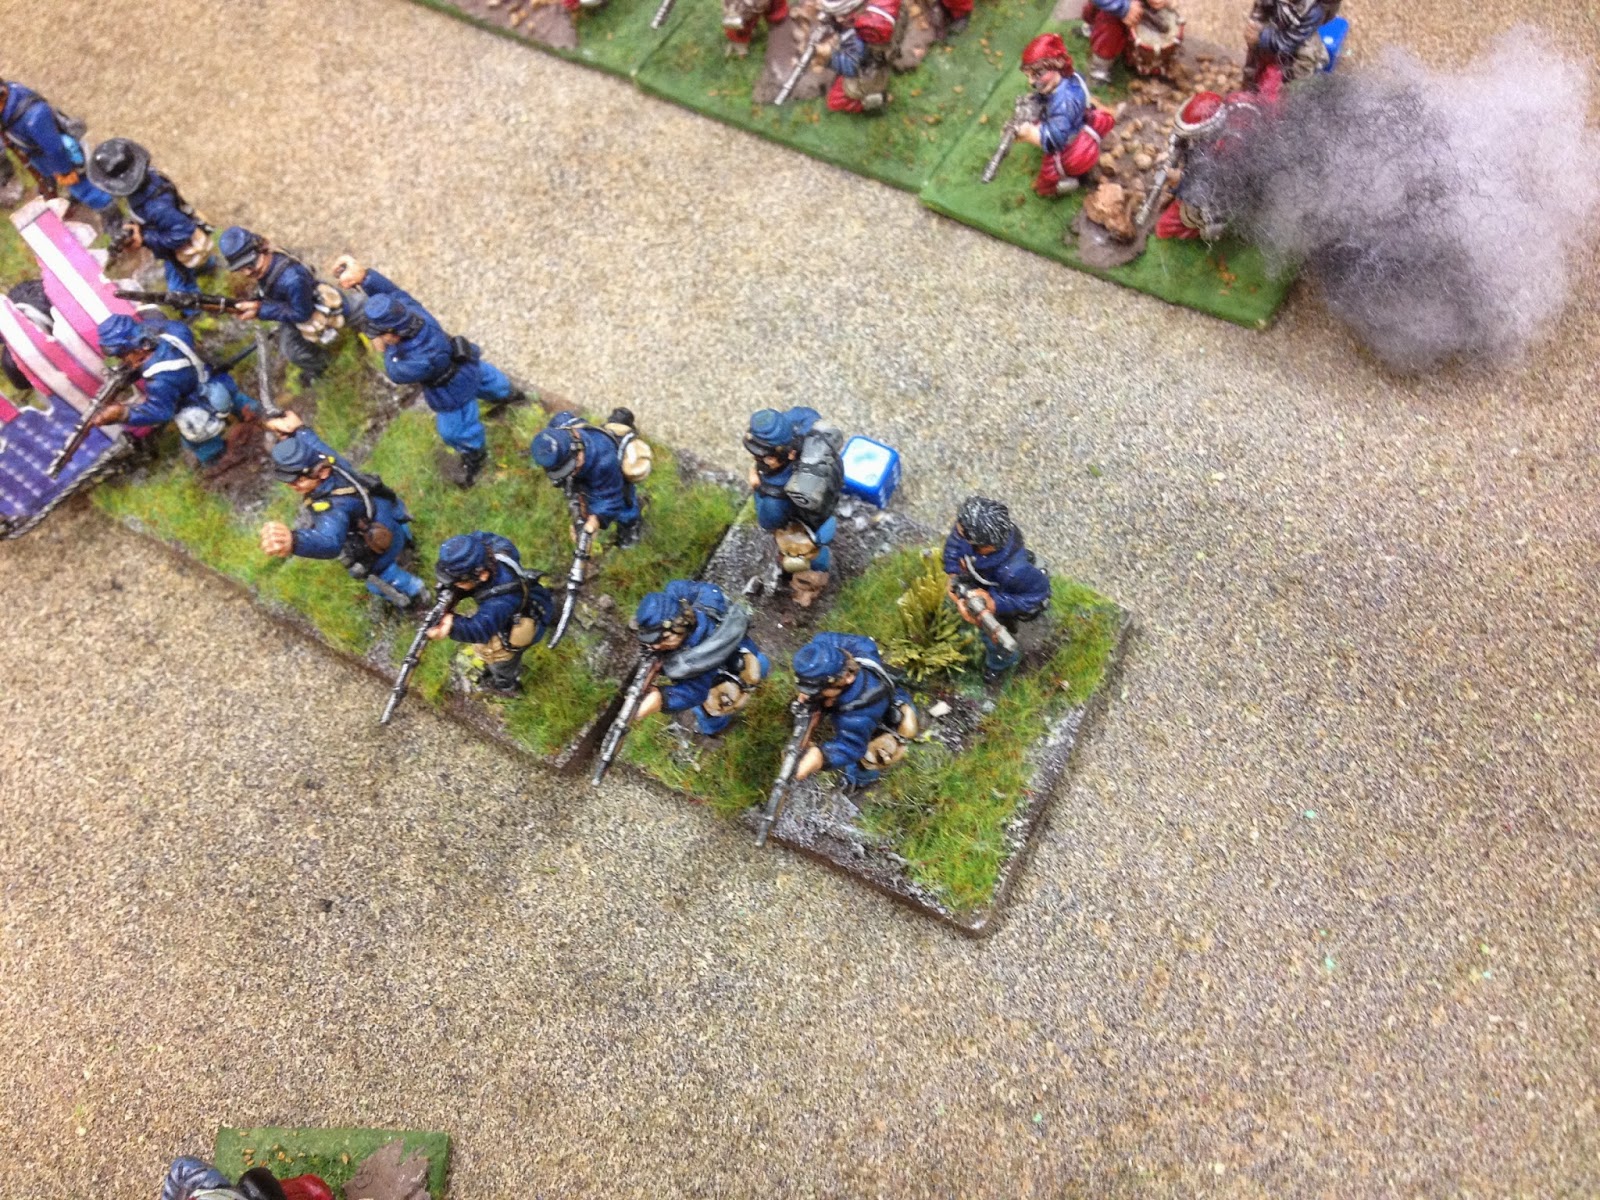
On the right wing the Union brigades begin to emerge from the cornfield.

Union lines continue to advance...

exposing their flank to artillery fire.

Skirmishers are withdrawn behind the lines as the Union try to charge 3 units into the Confederate lines.
The artillery opens up as casualties this move mean a morale test for the Confederate unit.


The next unit takes fire as the firefight continues.


Confederate artillery exact a heavy toll as they enfilade the Union line.

Artillery combine with the infantry in an attempt to force a morale test.


Firepower continues to dominate the battlefield preventing several Union charges.


This charge failed following horrific casualties from the defending line and their artillery supports. The Union faltered but did not fall back leaving them exposed to more devastating fire in the next turn.


Both sides trade volleys but both stubbornly continue the firefight.

In the next round musketry exchanges continue, its only a matter of time until something gives.

A Confederate unit goes to ground following a morale test.

Union infantry try to charge once more.


A Confederate unit is the first to fall back.


The Union charges are repulsed causing disorder in their lines.

The skirmishers return to cover their comrades.


The destruction of the Union regiment from the Big Apple continues but the stubbornly refuse to yield.

The Confederate line is wavering with 3 units having fallen back just as a small Brigade of reinforcements arrives.


We had to call it a day at this point with many units suffering high casualties. Another turn would have given a clearer picture of who had the upper hand. Despite the lack of melees it did have the feel of a Civil war battle. It won't be long before these figures are out again.
On Saturday Tom is running a 15mm 7 years war game using a GdeB variant for the period.
A report on that one will follow soon.
Cheers
Carl and Mick
Nice report, looks a fun game. What did you think of the rules overall?
ReplyDeleteGood one to refight; Iron Brigade and Hood's Texans, probably the two best formations that fought in that war.
I'm a big fan of David Browns rules. They just seem to 'feel' right. Also Carl prefers rules which have figure removal and i have to agree with him.
ReplyDeleteThe Iron Brigade and Hoods Texans are formations i intend to do one day with the correct figures!
Ah pity this game was obviously headed for an defining moment!
ReplyDeleteI'm a big fan of David Browns rules. They just seem to 'feel' right. Also Carl prefers rules which have figure removal and i have to agree with him.
ReplyDeleteThe Iron Brigade and Hoods Texans are formations i intend to do one day with the correct figures!
Great looking pictures and minis, a very nice report...
ReplyDelete