THE REARGUARD
Our latest club game was based on the Table Top Teaser in issue 12 of Battlegames by Charles Grant.
Our game was set in the Peninsular around 1812 and involved a British rearguard of 4 battalions of line infantry, 2 small units of Riflemen, one battery of foot artillery and a regiment of KGL Hussars. The French force consisted of 6 battalions of infantry, 2 units of skirmishers from the light companies, 2 regiments of Dragoons and a battery of foot artillery.
As both sides were required to split their forces we used ADCs' with a command roll of 7 to command some of the forces.
The rules we used were Black Powder.
The battlefield:- Dominated by a river which splits the battlefield in two and can only be crossed via the two bridges or the ford. Much of the table is rough ground or hills reducing movement to half.
Victory conditions:- To win the French had to get just one unit off the end of the table defended by the British. The French start off table and their first move gets them onto the table edge. British forces are placed on the table as and when French units move into position to spot them.
The British- Carl
The French- Tom
The umpire- Mick

As the attackers the French go first and quickly get the Dragoons brigade and 4 battalions of supporting infantry onto the table on the right flank.

Two battalions of infantry and the artillery battery enter on the left flank.

The Dragoons brigade, Perry to the front with Front Rank to the rear


The British waiting to be placed on the table when spotted did not (on the map) move in the first turn.

1st Hussars KGL.
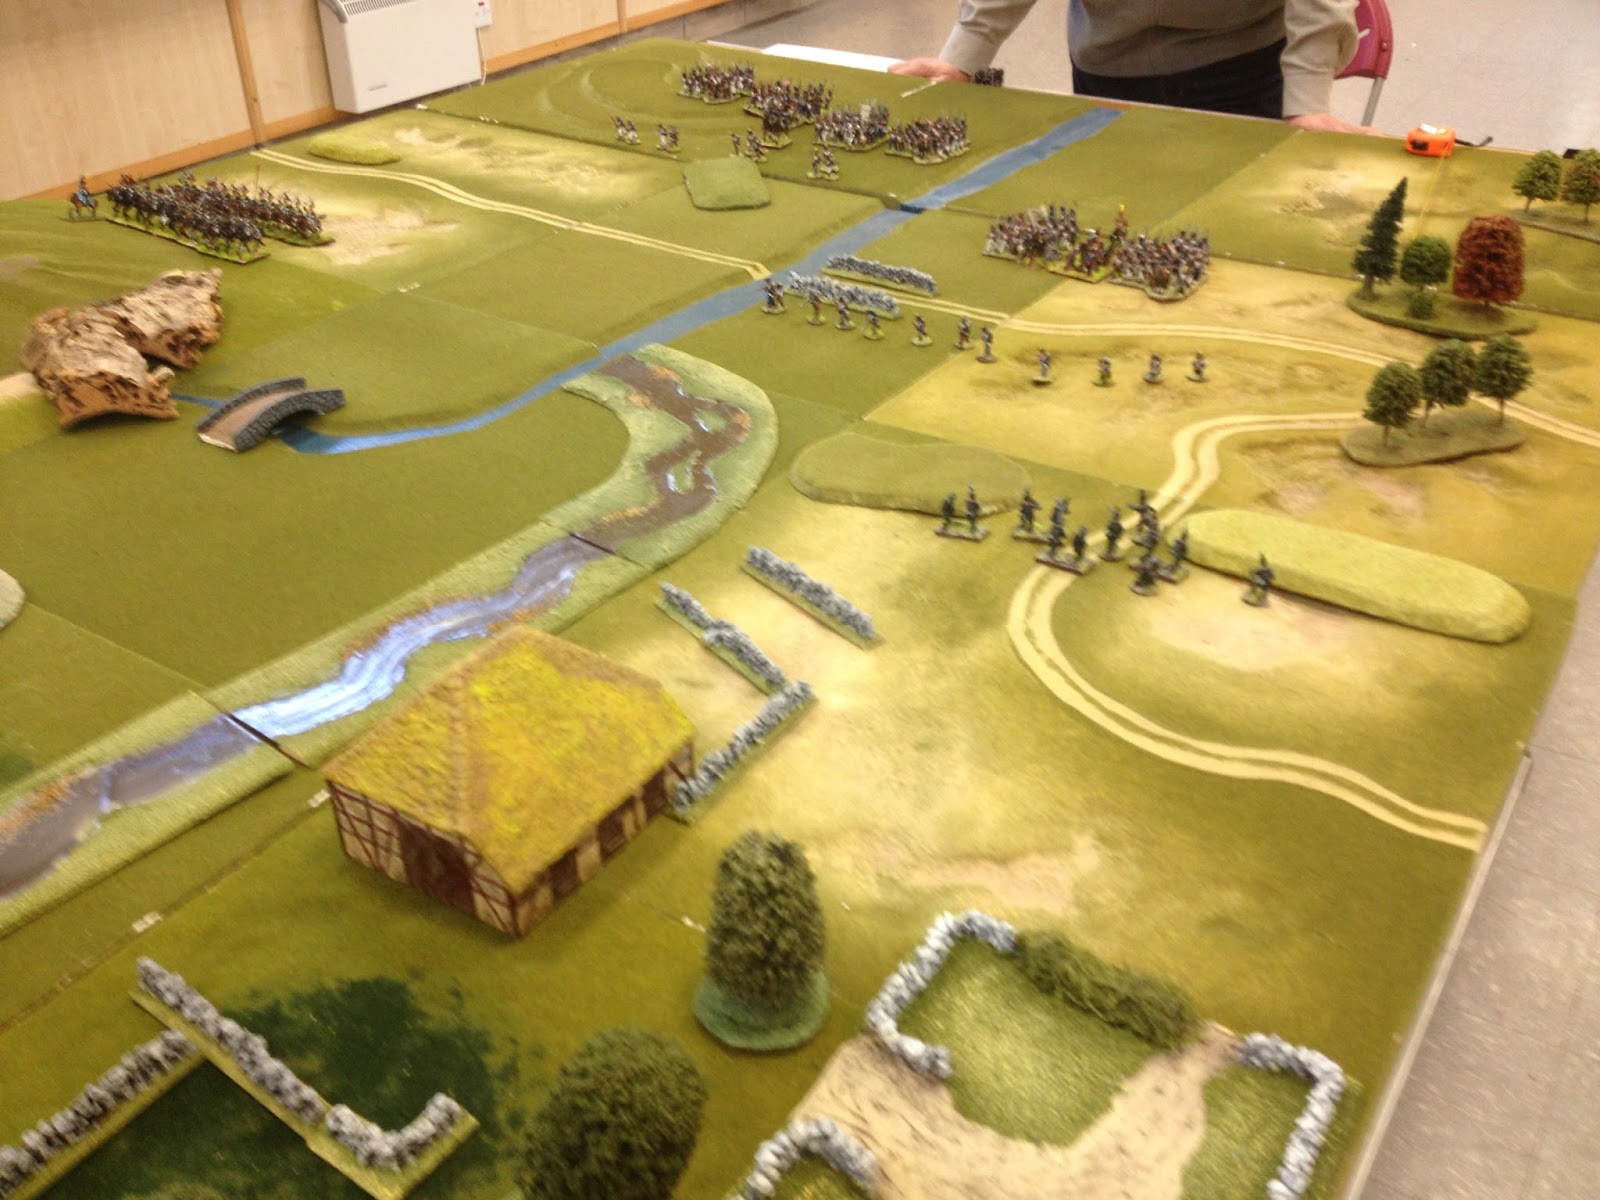
In the second move the French continue to advance on both sides, the dragoons advancing out of touch of their supporting infantry.

French skirmishers advance and spot British riflemen.

The Dragoons advance to the brow of a hill..

With skirmishers trying to keep up.

The shocked Dragoons have ridden straight into two British infantry battalions and a battery of artillery


The French continue to advance on the left but as on the right the main body of infantry is falling behind.

The firepower of the British proves too much for the first of the Dragoon regiments who took enough hits to force a morale test. A disastrous throw of 3 saw them disintegrate.


In turn 3 French skirmishers advance and engage the Rifle inflicting 2 casualties.

And a disorder.

Still 3 British units left to be spotted.

The French right.

And the left flank.

The Dragoons form column and head for the bridge.

While their infantry comrades continue their slow advance towards the ridge.


On the British right another infantry unit has appears spotted by the French skirmish screen.


On the left the French skirmishers are decimated by Rifle fire and another poor roll of the dice sees them run away also.

Leaving the columns exposed.

A panoramic view of proceedings.

Tom orders two of his columns to charge.

But they fall agonisingly short of the British line.

The Dragoons also attempt to charge requiring 3 moves to do so, they get 2!

And deploy into line across the bridge facing the Hussars which had been moving on the map before being spotted.

In the British turn the Dragoons take casualties from artillery and musketry.

On the left the French deploy into line but fail to charge.

On the right the French column refuse to move!

While the Dragoon charge, the Hussars electing to counter charge.

The ferocious charge of the KGL was not enough to defeat the French Dragoons who elect to do a sweeping advance in pursuit of their beaten foe. If they win this they will have a clear route to the table edge and victory.

Despite losing their ferocious charge bonus the KGL fight like daemons......

and rout the Dragoons!

The remaining battalions on the right, supported by the C-in-C charge the British line who fire and counter charge.

The redcoats are shattered

and disperse.

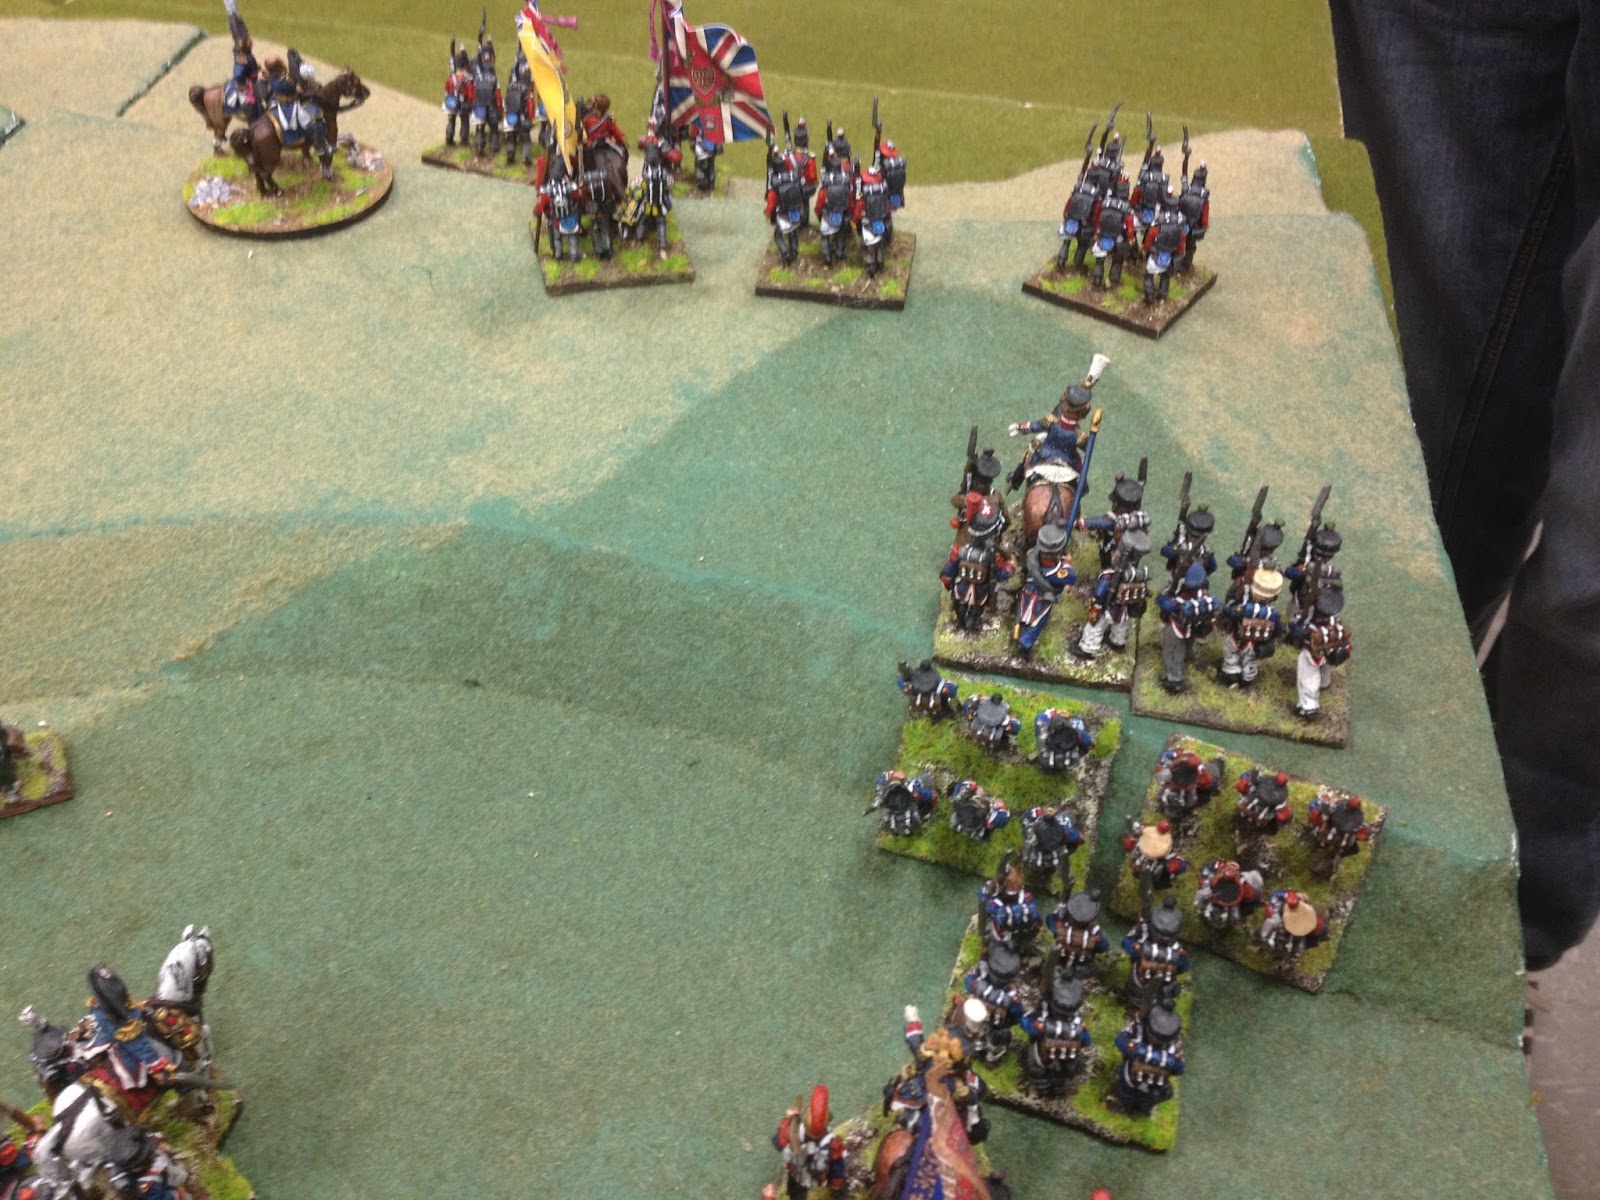

On the other side the French, having deployed into line the previous go, took rifle fire which threw them into disorder preventing them from receiving orders this go.

The French having failed to get the required unit off the table by 10pm had lost the game but given another hour would have possibly been able to do so having broken through the British line on the right flank. The intact KGL Hussars may have had something to say about that though.

In hindsight the French should have started as far on as the first tile given the nature of the terrain. It was agreed that the nature of the terrain limiting the knowledge of the British dispositions to the French made for an interesting game so thanks to Battlegames and Mr Grant for this scenario. Its a one i wouldn't mind doing again using General de Brigade.
Thanks for checking in!
next up will probably be an update on the fledgling Russian Napoleonic project and some progress on the 10mm Spartacus figures, the first cohort of Old Glory Romans painted and a second undercoated and on the painting table.
Thanks For Reading
Mick


