Vimiero Hill
French mission
Secure Vimiero Hill or break 2 British brigades
British mission
Hold Vimiero Hill or break 3 French brigades.
The game ends after 12 turns.
A player is deemed to be in control of the hill if he has more formed units on the feature than his opponent.
French mission
Secure Vimiero Hill or break 2 British brigades
British mission
Hold Vimiero Hill or break 3 French brigades.
The game ends after 12 turns.
A player is deemed to be in control of the hill if he has more formed units on the feature than his opponent.
Blue cards-French
Red cards-British

Starting positions. Vimiero village on the right with 2 vineyards to its front.

British rifle battalion defending the village

British artillery.

General Wellesley.

Vimiero hill showing visible British units and blanks.

The french move forward and two battalions are spotted by the British.

Two battalions of French are spotted by British skirmishers who open fire and cause casualties on each one. British artillery also open fire but throw double 1 meaning they are low on ammunition. This was a significant early blow to the British halving all casualties for the rest of the game rendering the artillery largely ineffective for the rest of the game.

Four more battalions are spotted by the British riflemen.

As are two battery's of French guns.

A battalion of British infantry are spotted.


A unit of French skirmishers open fire on the British riflemen.

Causing one casualty.

A second unit fires on some British skirmishers also causing one casualty.

British skirmishers cause anther three casualties on the right battalion.

The six french battalions move forward.


The French 4 pounders fire.

Causing one casualty on the British 8 pounders.

The British skirmishers open fire on the two french grenadier battalions.

Causing two casualties on the left battalion and one on the right battalion.

The British riflemen fire at the french skirmishers inflicting two casualties.


Another two french grenadier battalions are spotted.

The British skirmishers once again fire on the grenadiers inflicting three kills on the left battalion and two on the right battalion. Casualties are beginning to mount up on both sides.

The French skirmishers are fired at by a British battalion losing two men.

Two more British battalions move onto the ridge.

The British skirmishers pull back as the french grenadiers advance. The British artillery inflict one casualty on the french grenadiers.

On the French right the British skirmishers pull back towards the town as do the riflemen.

On the British right the first unit to be destroyed was the French skirmishers who failed after throwing 3 for a morale test.

Two more British battalions are spotted on the ridge.

The French artillery are moved closer to the British. These were to become a serious thorn in the side of the British.

The French continue forward in serious numbers putting pressure on the British right wing.


The British and the French skirmishers exchange fire inflicting two casualties each.


French charges are held of by British fire.

British artillery continue to take casualties.

One French battalion is repulsed on the British right flank but the British unit is looking decidedly shaky.

On the British left reinforcements arrive and the situation at this point looks pretty secure. An air of complacency began to take hold of the British commanders. This proved to be decidedly ill-founded.

Over on the right the situation looked equally secure but as can be seen at the bottom of the picture above the French continue to advance their artillery to wreak havoc on the British infantry.

The French attempt to build up some momentum on their right conscious that time is running out for them to achieve their objectives.

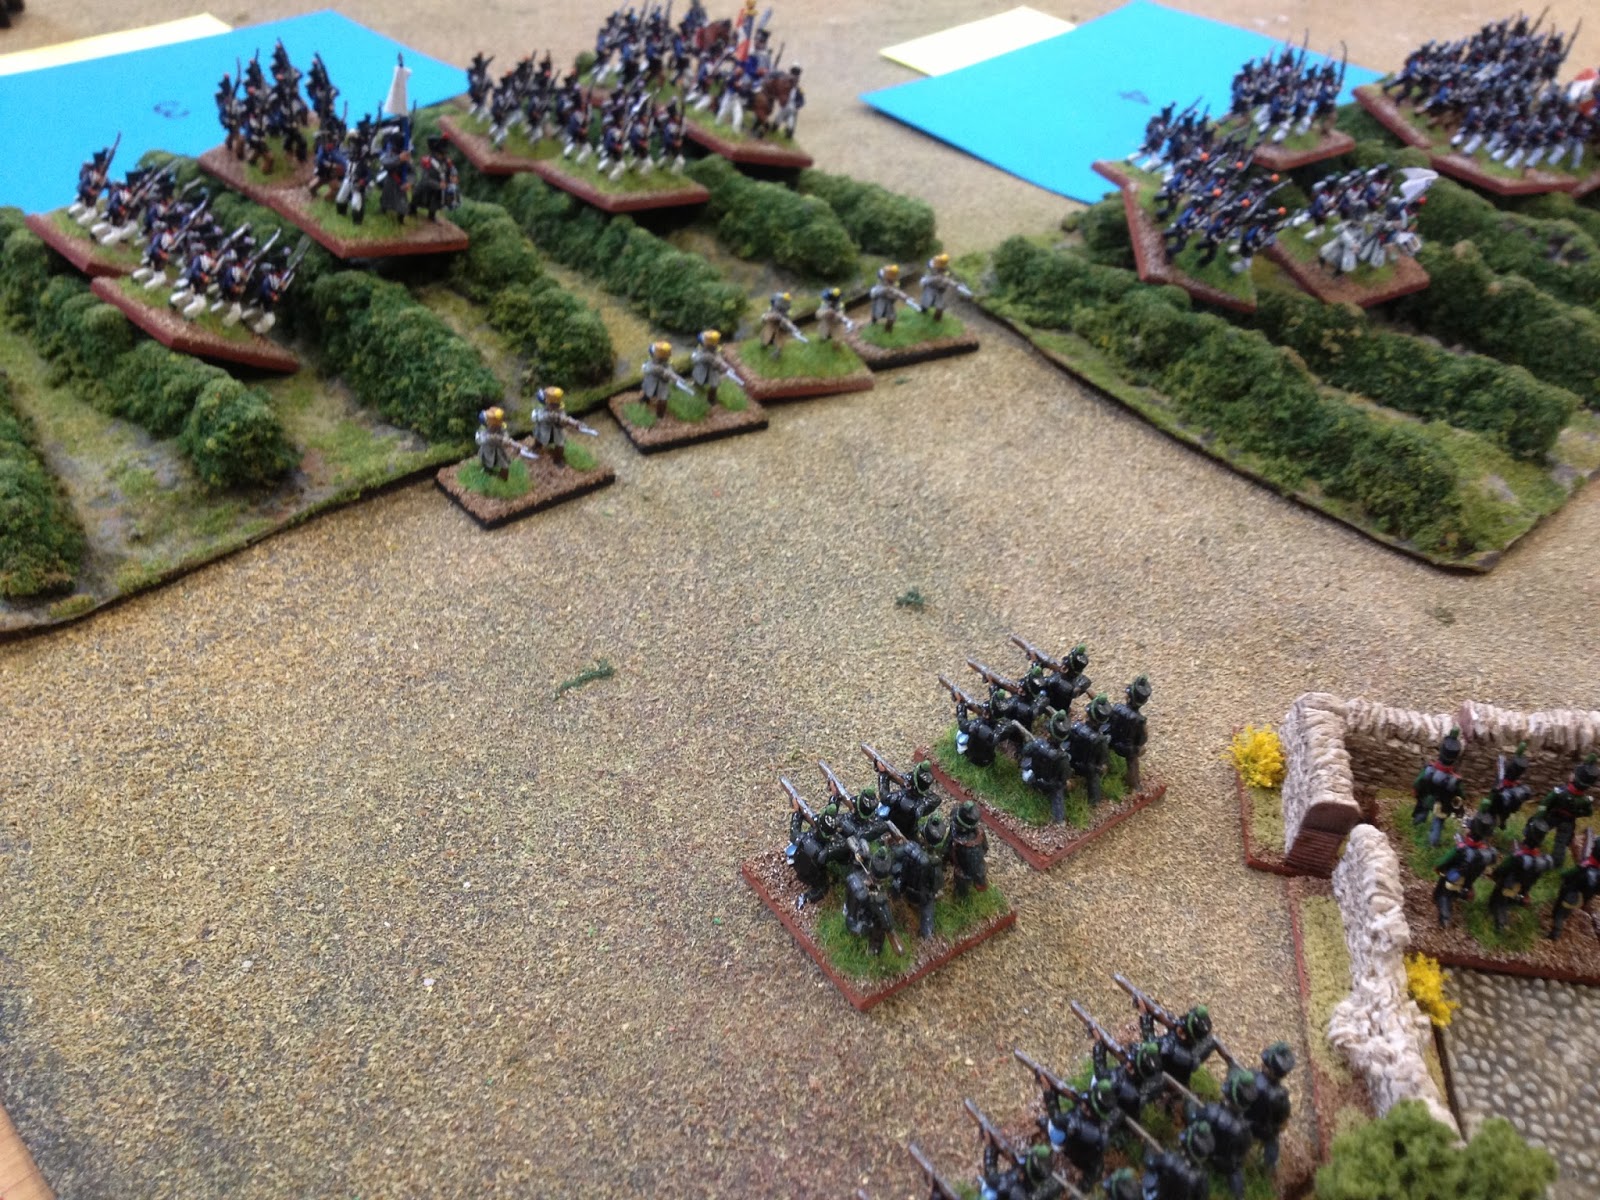
Skirmishers get to grips with each other .


A fluid situation on the other side with some French units advancing whilst other continue to fall back.

French skirmishers soften up the British line in readiness for their columns to smash through and claim their victory.

Their skirmishers were thrown back by their British counterparts.
The 95th prepare to retire int the village.


French grenadiers recover and advance up the hill.

The French skirmishers fell back leaving the way clear for the columns.

However these both faltered under the weight of British firepower.

The Rifles begin their withdrawal into Vimiero.

The British line looks to be pretty secure with the French nowhere near achieving any of their objectives.


French artillery are now in canister range and the attritional nature of this is beginning to ware the British down.

French forces begin to concentrate -

on both flanks.

British firepower has reduced one French unit to 50%

A similar story on the other side sees French units retreat after attempting to assault the village.

French skirmishers screen the artillery from the threat of their British counterparts. The situation still looked well under control at this point for the British.

French grenadiers charge home as the nervous British line fired over the heads of the charging Frenchmen.

Fire is exchanged on the other flank.

Half of the 95th remain outside Vimiero to harass the French columns.

A panoramic view of the situation.

The french take casualties and one battalion needs to take a morale test taking 3 casualties from closing fire.

Two of the 3 French battalions on the other flank are thrown back.

Leaving only one to face the British line.

The French, having passed their morale test previously again attempt to charge home.

While the the grenadiers on the other flank do so.


The British are pushed back on the other flank.

And the 95th withdraw into Vimiero.

The village is assaulted by 2 French columns as skirmishers are forced back.


The 60th defend their part of Vimiero.


A view of the British trying to flank the attacking French columns.

The French grenadiers defeat the British line.

The other grenadier battalion attempts to do the same,

but is unable to break the British.

Although the British falter the French have now lost half of their battalion.

The British are forced to retreat.

as the French burst into Vimiero on their left flank. The confidence on the British side begins to evaporate as high dice rolls are suddenly replaced with low ones!!!


The 60th badly shaken up.

The British struggle to hold back the French and are forced to retreat.

French unit fails to rally.

Fighting continues on the British right as their defeated battalion continues to run.

The British finally attempt to charge the flank of the exposed French.

They French break and run with typical Gallic flair.

British skirmishers engage their French counterparts.

Fierce hand to hand fighting continues in Vimiero.

with casualties mounting.

Again the British lose.

and are routed.


Two of the dispersed British units.


Gaps are starting to appear on Vimiero hill.

The capture of Vimiero allows the French to turn their attention to the stubborn British defence of the left hand flank of the ridge.

The French finally rally one of their units.

and another 2.

Vimiero largely under French control.

Stalemate ensues as the British fail to charge home against another exposed French flank while their skirmishers harass the French.

The newly enthused French column return to the fray.

As renewed French pressure gathers pace on their left flank.


The exposed French column on the British left flank needs to take a morale test. Despite its precarious situation it would pass.

French artillery enfilade the British line forcing them to take a morale test.

The French stand and wait for their friends to come to their aid.

Another French battalion attempted to rally but failed and dispersed.

However the 60th fared little better and also dispersed.

off the table!

The final British unit is expelled from Vimiero leaving the French in control of the entire town.

British skirmishers manouver to deal with the French artillery causing such fearful casualties on the infantry.

The sides were pretty even on the right flank but the pressure was beginning to tell, particularly from the artillery.

The French settle into Vimiero.

as reinforcements approach.

British line fails to charge and continues to take fire from skirmishers on their flank.

On the right the British adjust their line to face the final French assault.

And continue to take artillery fire.

Unfortunately for them the French had ran out of time.
So a British victory as they held the hill. They had taken quite a hammering and it was clear had the game gone on much longer the French would have eventually won through weight of numbers, the British having lost more units.
Thanks For Reading
Carl
No comments:
Post a Comment